
Expert Tips on the Best Time to Paint Your Home’s Exterior
Are you thinking about a perfect time to paint your house’s exterior? The brief answer would be in the mild, steady weather of late spring or early fall. It’s not only the choice of a professional; these are the times when temperature and humidity conditions are favorable for you to get the best possible result a durable, long-lasting finish.
Your Perfect Window for Exterior Painting
Imagine, for instance, you are trying to get a perfect sear on a steak. If the heat is too high, it burns. If the heat is too low, the steak will not be cooked properly. Exterior painting nearby is surprisingly quite similar; the whole thing is essentially reliant on three key weather factors: temperature, humidity, and sunlight.
Nailing this combination means your new paint job will do more than just look fantastic. It will effectively stick to the surface and provide a protective layer to your home for several years. However, if you neglect these factors, you are basically inviting problems such as blistering, peeling, or cracking of paint even within a couple of months, and of course, no one wants to do the whole painting over again.
The Science Behind a Flawless Finish
In order to achieve that tough, durable finish, the threefold of perfect conditions must work conveniently in your favor. Most paints tend to have their best performance when the temperature at the time of application is between 50°F and 85°F. Actually, some studies have indicated that paint applied within this temperature sweet spot can last 20-30% longer than those that are done in the burning summer heat.
For humidity, aim for 40% to 70%. Too much moisture in the air slows drying time and can lead to drips and streaks, while air that’s too dry can cause the paint to dry too quickly, resulting in brush marks and an uneven finish. For a deeper dive into how these factors impact paint, the team at I PAINT STUFF offers some great insights.
A successful exterior paint job isn’t so much about the specific season as it is about finding a consistent window of stable weather. You need at least a few consecutive days of mild, dry conditions to allow for all the critical steps: prep, application, and, most importantly, curing time.
Here’s a quick cheat sheet to help you remember the ideal conditions.
Everything listed there, in fact, contributes significantly to the durability of your paint in the long term. Don’t consider these ranges as merely recommendations but more as the basis for a paint job that can survive outdoor weather in Colorado for paper years.
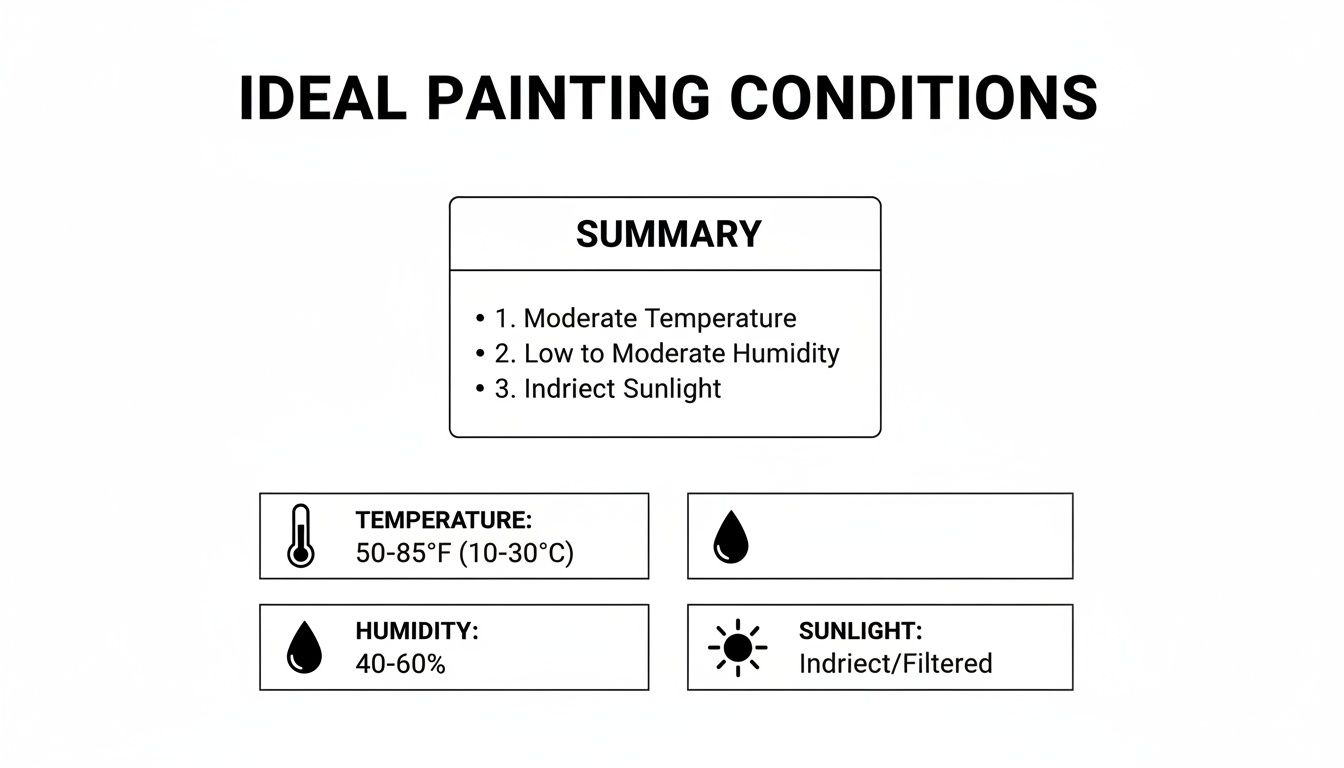
To make planning even easier, here’s a quick summary of the ideal conditions.
Ideal Exterior Painting Conditions at a Glance
Factor | Ideal Range | Why It Matters |
Air Temperature | 50°F to 85°F | Ensures paint flows smoothly, bonds correctly, and doesn’t dry too quickly or too slowly. |
Humidity | 40% to 70% | Prevents issues like blistering, cracking, and streaking by allowing paint to dry at the proper rate. |
Sunlight | Overcast or Indirect Sun | Direct, intense sunlight can bake the paint, causing it to bubble and fail before it has a chance to cure properly. |
Wind & Rain | Calm, Dry Days | High winds can dry paint too fast and blow debris onto the wet surface. Rain can wash away fresh paint. |
Keeping this table in mind will help you or your contractor schedule your project for a time when the weather is on your side, not working against you.
Why Temperature and Humidity Make or Break Your Paint Job
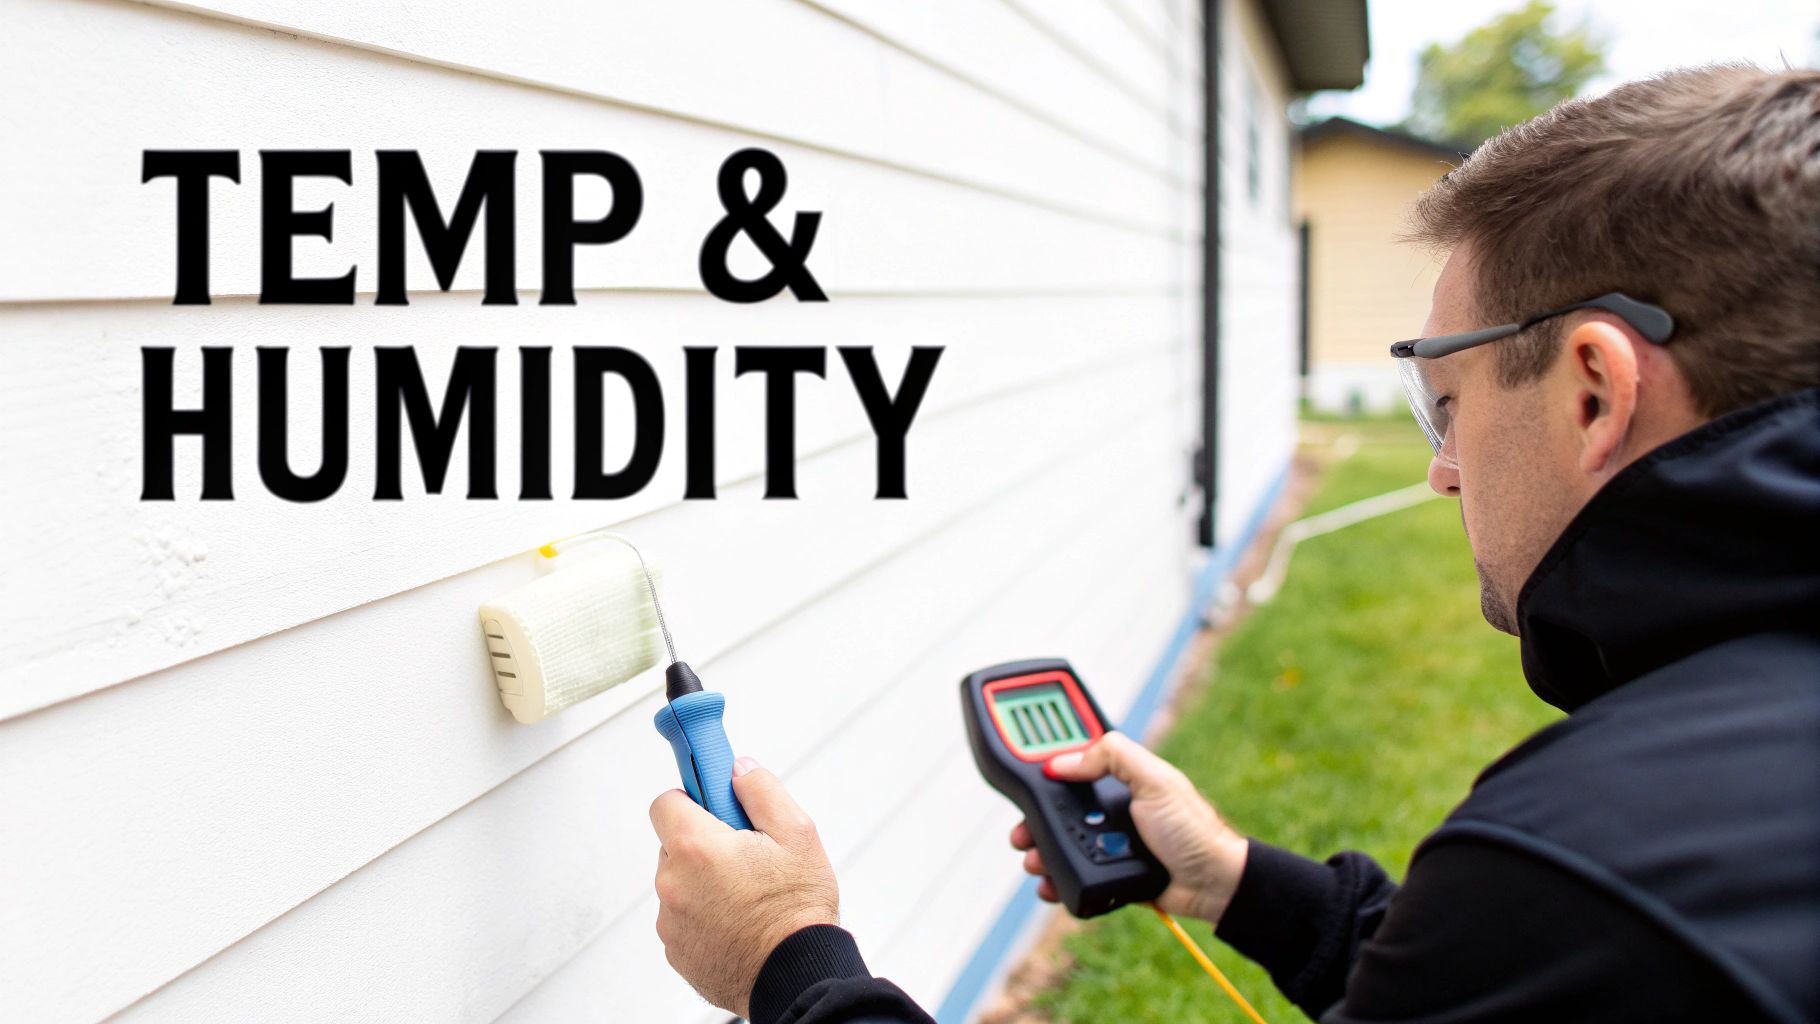
Exterior paint doesn’t just “dry” the way laundry does on a line. Through the chemical reaction called curing, the polymers combine to form a 3D network that acts as a strong protective layer for your house. This method is extremely sensitive to the weather, and if the environment is not right, the entire work can be ruined.
Think of it like baking a cake. If the oven is too hot, the outside burns while the inside is still raw. If it’s not hot enough, you end up with a soupy mess. Paint needs that “just right” Goldilocks environment to cure into a finish that will actually last. The best time to paint your house is all about finding that perfect window.
The Problem with Cold Temperatures
Painting when it’s too cold is easily one of the most common and expensive mistakes we see. Most latex and acrylic paints need both air and surface temperatures to remain above 50°F for 24 to 48 hours after application. When the temperature drops below that magic number, the curing process just grinds to a halt.
Without the right temperature, the paint simply can’t form that strong, flexible film it’s designed to create. What you get instead is a brittle coat that’s set up for failure. This often leads to:
- Cracking and Peeling: The paint never gets a proper grip on the surface, so it starts to flake and peel off way too soon.
- Poor Color Uniformity: The finish can appear streaky and blotchy because the pigments didn’t settle properly.
- Surfactant Leaching: Morning dew or condensation can pull ingredients out of the uncured paint, leaving behind weird, sticky, or oily-looking spots on your brand-new paint job.
Bottom line: cold weather slows the paint’s performance, seriously shortening the finish’s lifespan.
The Dangers of Extreme Heat and Humidity
Through residential painting nearby, at either end of the thermometer, in scorching heat above 85°F or in direct, blistering sun, is just as bad. The sun makes the paint dry really fast but not in a good way. The very first layer dries so quickly that it becomes a skin and the solvents are trapped inside. When the solvents are trapped and trying to evaporate, they force their way out and thus the paint becomes bubbly and blistered.
High humidity just complicates things further. The sweet spot for exterior painting is a relative humidity range of 40% to 70%.
Air is nearly saturated with water vapor when the humidity rises above 70%. That is why the water molecules in the paint can’t leave, and the drying time gets considerably longer. The surface will be sticky for an extended time, attracting dust, pollen, and insect specks.
Very dry air gives rise to the other set of problems because paint dries in such a hurry that one cannot even make a wet edge. Brush and overlapping marks will inevitably become the results thus the whole surface looks dirty and poorly done. The trick to a gorgeous and lasting finish is to keep that perfect equilibrium of moderate heat and unchanged humidity.
A Painter’s Calendar: Your Season-by-Season Guide
Picking the right time to paint your house isn’t just about circling a date on the calendar. It’s a strategic move. Every season has its own personality, bringing a unique mix of advantages and headaches that can make or break your paint job.
Imagine each season as a different workshop. Some are fully equipped for the job, while others have fun obstacles you’ll need to figure out. Let’s explore what spring, summer, fall, and winter have in store so you can have a beautiful ending that keeps on going.
Spring: A Good Start, But Watch the Weather
On paper, late spring looks like a painter’s dream. The brutal cold is gone, and temperatures are climbing into that sweet spot between 50°F and 85°F. The days are getting longer, too, which means more precious daylight for getting the work done.
But spring in Colorado is a wild card. You’re up against two main troublemakers:
- Pop-up Showers: Spring rain can roll in without much warning, bringing your project to a screeching halt. A wall must be completely dry before a brush touches it, and fresh paint needs at least a full day to cure before it can withstand moisture.
- Pollen Everywhere: When trees and flowers burst to life, they release clouds of pollen. That pollen loves to stick to wet paint, leaving you with a gritty, bumpy texture permanently embedded in your home’s new finish.
Summer: Working Around the Heat
For one thing, summer is the time when everyone craves painting, which is why this is probably the reason why it is peak painting season. However, the season also has its cons. The most significant enemy is the intense, direct sun and scorching heat. When you put paint on a scorching surface, the paint’s top layer flash-dries, trapping the solvents underneath.
This is what causes ugly blistering and peeling down the road. In fact, it’s estimated that over 40% of jobs blister when temps push past 85°F because the paint simply can’t bond properly.
The pros have a trick for this: we “follow the shade.” We’ll start on the west side of a house in the morning, then move to the east side as the afternoon sun takes over, always staying out of its direct path. By zeroing in on those cooler micro-windows, usually before 10 a.m. or after 5 p.m., the results are dramatically better.
Pro-Tip: Of course, good preparation is the most important factor no matter what time of the year it is. When planning your project, keep in mind that paint quality doesn’t matter if the surface underneath is in poor condition. Determining the right moment to pressure wash your house is an important initial step to make sure your new paint will have a clean, strong base to adhere to.
Fall: Hitting the Sweet Spot
Simply by inquiring a professional painter nearby, you’ll probably hear that early to mid-fall is considered the best time for exterior painting by most of them. It’s the Goldilocks season, just right, neither too hot nor too cold. You have that perfect mix of steady, mild temperatures and a lot lower humidity. With less moisture in the air and the sun not being so harsh, the paint is able to cure slowly and evenly, thus forming a strong, long-lasting bond.
The catch? The clock is ticking. Time in daylight is decreasing and you need to watch for unexpected episodes of cold weather. If at night the temperature falls under the crucial level of 50°F, the curing process will be totally stopped and this can significantly reduce the strength of the paint over time. Everything is a matter of proper planning.
Winter: The Off-Season for a Reason
Let’s be blunt: winter is almost always a hard “no” for exterior painting. The persistent cold, super-short days, and the risk of snow and ice make it practically impossible for regular paint to cure properly.
Of course, specialty paints that can be applied at low temperatures for emergency touch-ups are available in milder climates, but they should be considered as the last resort and not the actual solution. If you want a high-quality, durable finish that you can rely on, it is probably best to hold off on the project until the spring thaw.
Painting Strategies for Colorado’s Unique Climate
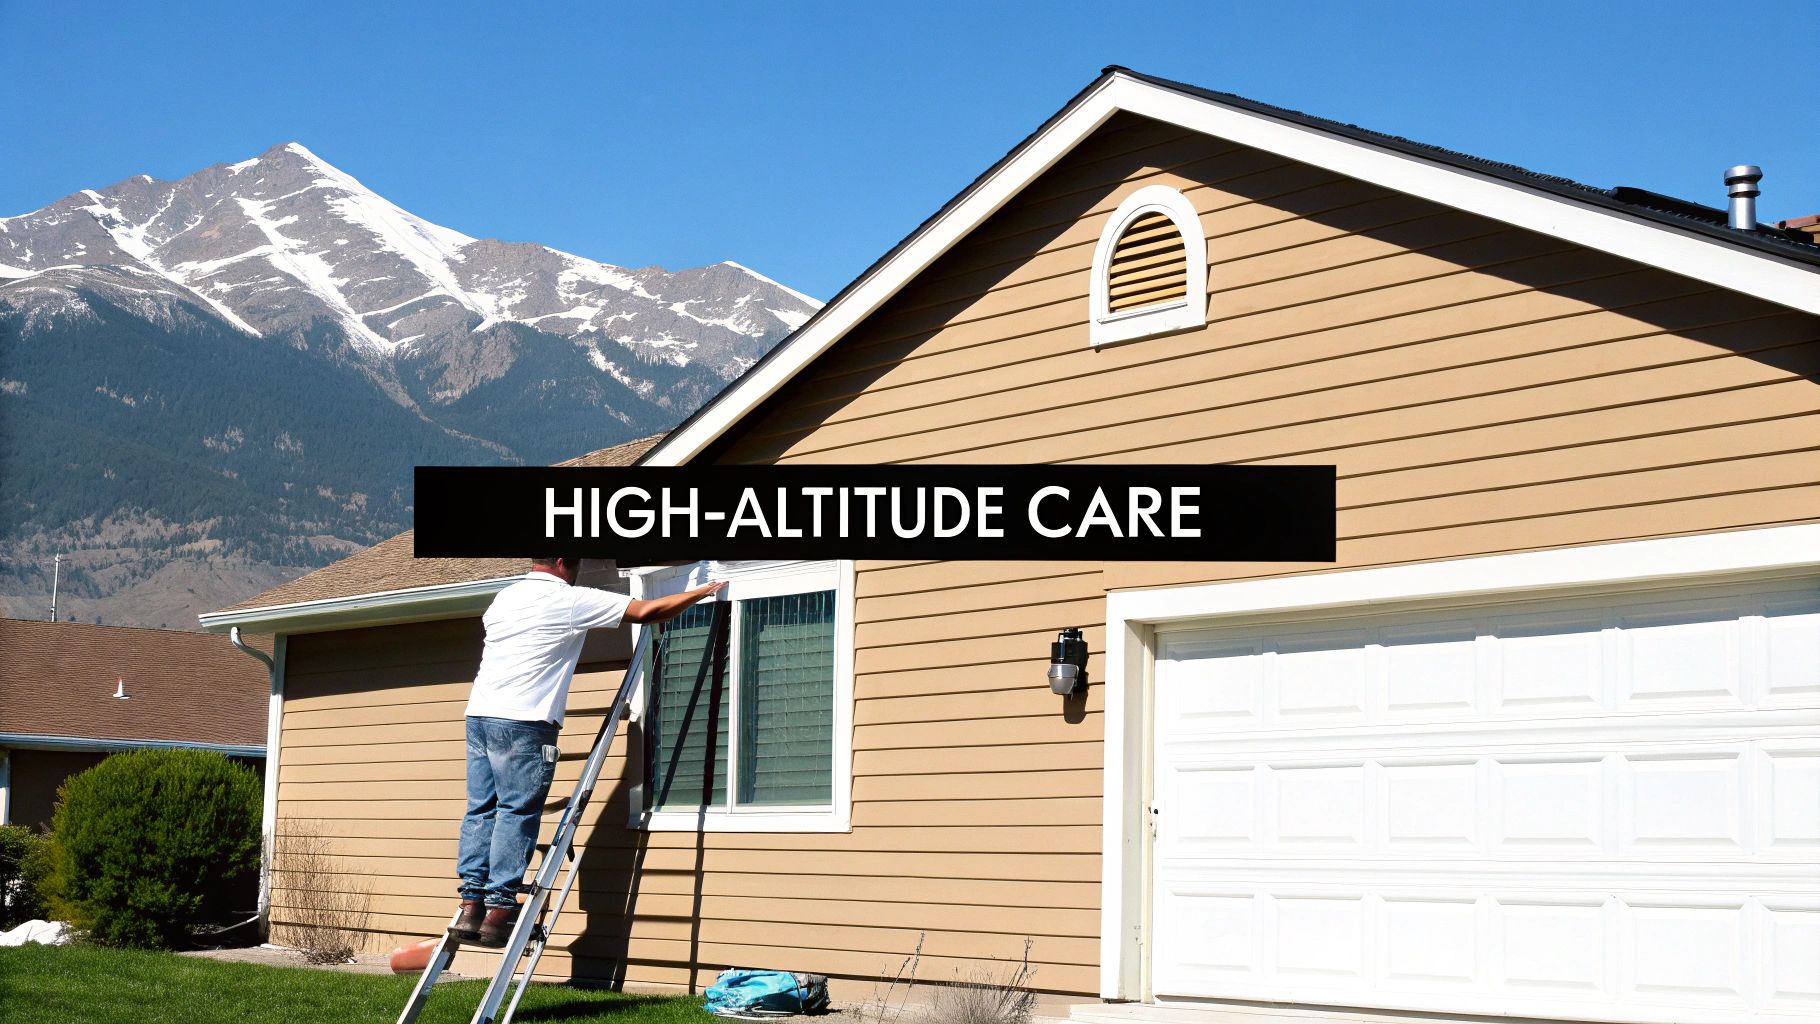
Painting a house in Colorado is a whole different ballgame. Our state’s wild environment, from the blistering sun to the dramatic temperature drops, calls for a much smarter approach. Generic, one-size-fits-all advice just doesn’t work when your home is battling high-altitude conditions day in and day out.
Figuring out the best time to paint here is about more than just dodging rain clouds. It’s about creating a strategy to deal with the three biggest culprits that can ruin a perfectly good paint job: intense UV radiation, destructive freeze-thaw cycles, and our bone-dry air.
Battling High-Altitude UV Exposure
Living closer to the sun means UV rays hit us harder. This relentless exposure basically cooks your home’s exterior, causing vibrant colors to fade in record time and making the paint film itself brittle and weak.
Your best defense is to invest in a top-tier, 100% acrylic latex paint that’s loaded with UV inhibitors. You can think of it as industrial-strength sunscreen for your house. These formulas are specifically engineered to reflect the sun’s harsh rays, keeping your color true for years, not just a couple of seasons.
Surviving the Freeze-Thaw Cycle
Everyone in Colorado knows about our wild temperature swings; it’s not unusual to see a shift of more than 40 degrees in a single day. When lingering moisture gets into tiny cracks in your siding and freezes, it expands. Then it thaws and contracts. This endless cycle puts immense strain on your home’s exterior.
The main point is to be flexible. It is necessary to have a paint that expands and contracts the same way as your siding. Typical, inflexible paints will crack and peel under this tension very quickly, but top-notch acrylic latex formulas are designed to stay elastic, thus they move with your house instead of resisting it.
This is a huge deal in the spring and fall when those temperature swings are at their most extreme. Your new paint needs to be fully cured before it can handle that kind of stress.
Managing a Dry Climate
While low humidity is generally a painter’s friend, Colorado’s arid climate can be too dry at times. This can cause paint to dry almost instantly on the brush or roller, leaving behind ugly overlap marks and an uneven, amateur-looking finish.
Here are a few pro tricks to get a smooth finish when the air is dry:
- Work in smaller, more manageable sections to maintain a wet edge at all times.
- Follow the shade around the house, avoiding painting in direct, intense sunlight whenever you can.
- Think about using a paint extender. This additive slows drying time just enough to give you a longer window for a flawless application.
For more great local advice, take a look at these top tips for exterior house painting in Denver. By tailoring your painting plan to our unique climate, you’ll get a beautiful finish that does its most important job: protecting your home.
How to Plan Your Painting Day for Perfect Results
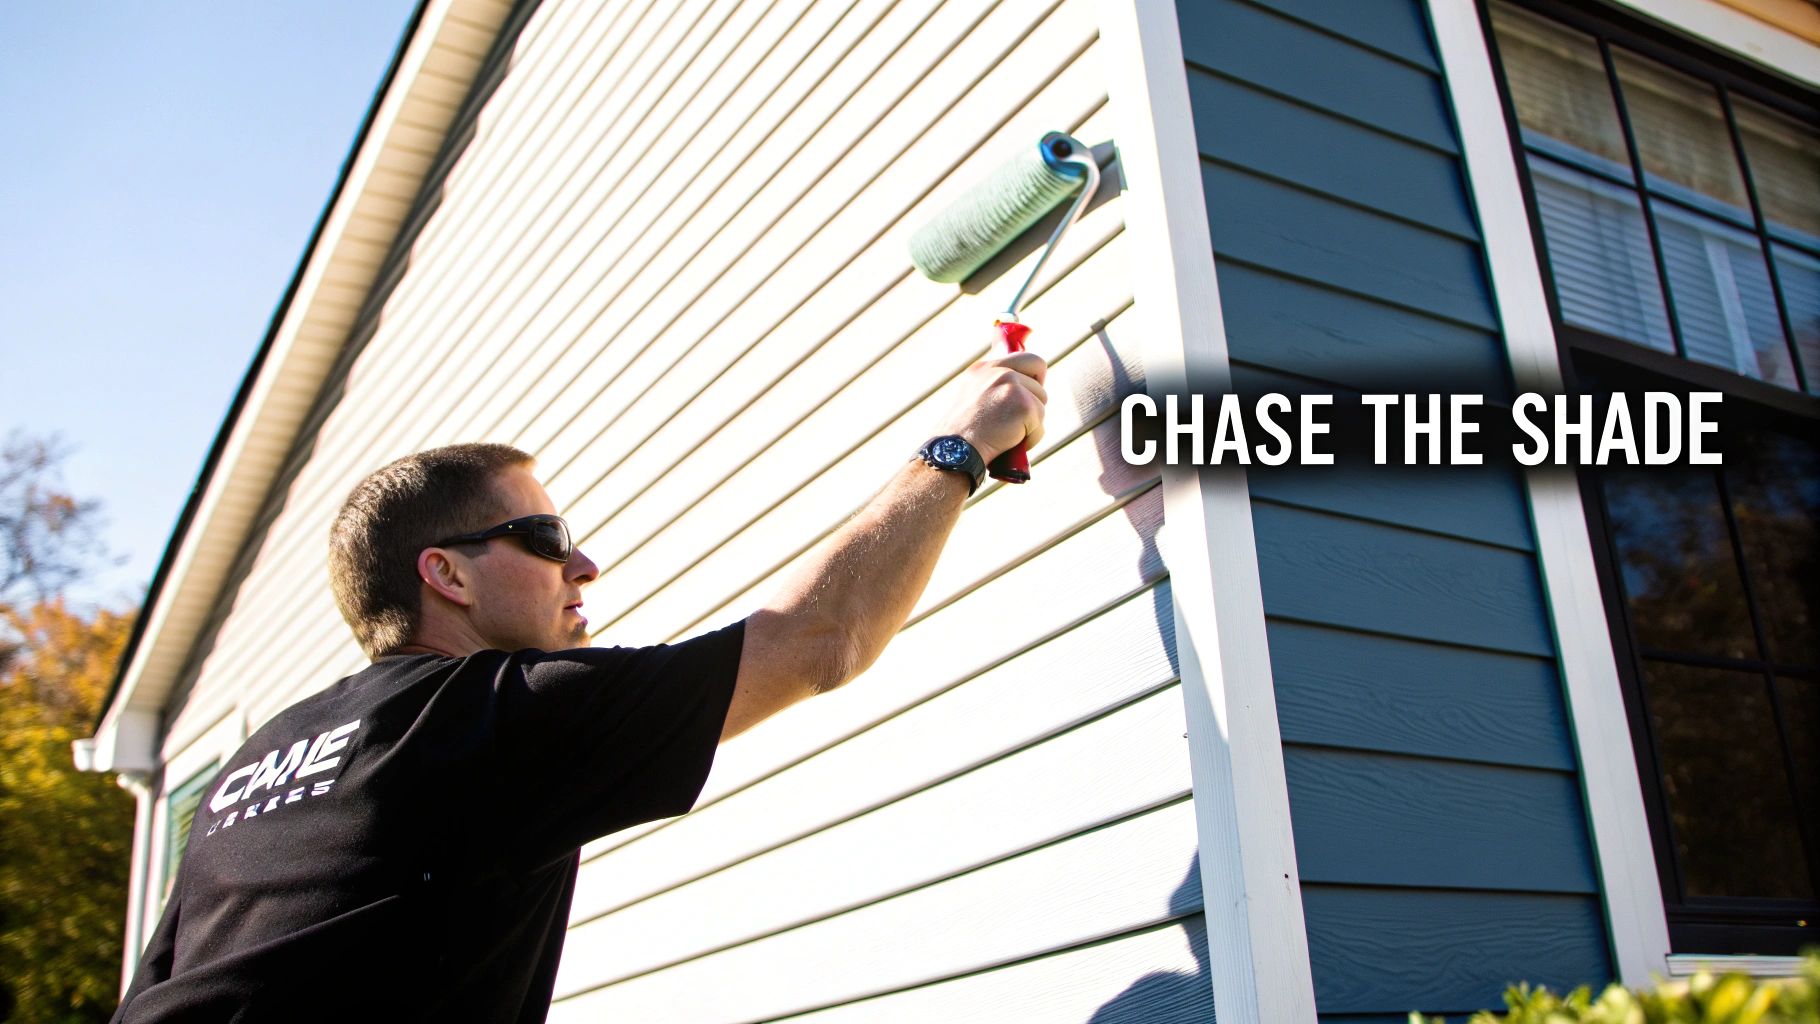
According to a professional painting company nearby, choosing the right season gets you in the right ballpark, but picking the right time of day is how you win the game. A great paint job isn’t just about when, it’s about the how, your daily game plan. The single most important technique we pros use is a simple but brilliant one: we “chase the shade.”
Basically, you follow the shade around your house as the sun moves across the sky. This keeps you working on cool surfaces. Why does this matter so much? Because a hot wall will flash-dry the paint, causing ugly blisters, lap marks, and a weak bond. By staying in the shade, you give the paint time to settle and cure into a tough, beautiful finish.
Your Daily Painting Schedule
Here’s how to put that pro strategy into practice:
- Morning (8 AM – 11 AM): Start on the west side of your house. It’s been in the shade all morning and will be cool enough for that first coat.
- Midday (11 AM – 2 PM): As the sun gets high, move over to the north side. It gets the least direct sunlight, making it the perfect spot to work during the hottest part of the day.
- Afternoon (2 PM – 5 PM): Now, you can shift over to the east side. The sun is on its way down, leaving these walls perfectly cool and ready for paint. You might even find the south side is workable later in the afternoon.
This little trick prevents you from ever painting a “hot” wall, which is probably the biggest cause of premature paint failure. It’s a simple change to your routine that pays off in a huge way.
The Real Secret to a Lasting Finish? Prep Work.
Even if the weather is perfect and you follow the sun flawlessly, you won’t have a successful paint job if you neglect the most important step preparation. You can have the highest quality paint that money can buy and the most steady hand in Colorado, but if you apply it to a surface that is dirty and peeling, it’s like constructing a house on a sand dune. It simply won’t last.
The major problem with painting is not the bad weather or cheap materials but insufficient preparation of surfaces. New paint can only stick and hold a powerful bond with the surface that is clean, sound and able to resist the elements for years.
Prep work isn’t the fun part, but it’s absolutely essential for a professional-grade result. To get a better sense of how this fits into the overall timeline, check out our guide on how long it takes to paint a house. You’ll see just how much time is dedicated to these foundational steps.
A proper prep job always includes these four steps:
- Power Washing: This blasts away years of built-up dirt, grime, mildew, and any chalky old paint residue.
- Scraping and Sanding: You have to remove every last bit of loose, cracked, or peeling paint to create a smooth, solid base.
- Repairing and Caulking: We fill any cracks in the siding and seal up gaps with new caulk to create a seamless, watertight barrier. Knowing the right sequence, like understanding whether to caulk or paint first, is critical for a flawless look.
- Priming: Any bare wood or repaired spots need a coat of high-quality primer. This ensures the topcoat adheres evenly and the final color appears rich and uniform.
Choosing the Right Paint and Finalizing Your Schedule
Getting the timing right is a huge part of the game, but there’s still plenty to do. Now you need to pick the right materials and then schedule your project. Choosing the right paint is way beyond just picking the color; in fact, it’s like wrapping your house in a protective layer that will resist anything Colorado might throw at it.
Years ago, oil-based paints were the go-to. Not anymore. Today, 100% acrylic latex paint is the undisputed champion for our climate, and for good reason. Its secret weapon is flexibility. This paint can actually expand and contract with Colorado’s wild temperature swings, which is key to preventing the cracking and peeling you see on homes with older, more rigid paint. It also holds up way better against our intense UV radiation, so your colors stay true instead of fading out after a couple of years.
Selecting the Perfect Sheen
The paint’s finish, or sheen, isn’t just for looks; it plays a vital role in protecting different parts of your home. Think of it as choosing the right tool for the right job.
- Flat/Matte: This finish has no shine, making it a master at hiding minor imperfections on large, broad surfaces like siding. It gives your home a clean, modern look.
- Satin/Eggshell: Offering a subtle glow, a satin finish is more durable and easier to clean than a flat finish. It’s an incredibly popular choice for siding, especially on wood- or fiber-cement homes.
- Semi-Gloss: This is your workhorse finish. It’s tough, moisture-resistant, and perfect for areas that take a beating, think trim, doors, and window frames.
Some surfaces, like stucco, need something even more specialized. Elastomeric coatings offer incredible flexibility to bridge hairline cracks. That’s a whole topic on its own, which is why we have a separate guide on the best paint for stucco houses.
Booking Your Project Like a Pro
When you’ve decided on the paint, the last thing to do is to fix a date. No surprise, the most suitable days for painting, in fact, are also the busiest for professional painters. In case you want to get a slot during the peak seasons of late spring and early fall, you will have to schedule your appointment several weeks or even months ahead.
Don’t make the mistake of waiting for that first beautiful week in May to start calling for estimates. By that point, the best local crews are often booked solid right through the summer. A little forethought ensures you get the team you want during that perfect weather window.
When you book with a pro like I PAINT STUFF, always plan for a little wiggle room in your timeline. Colorado weather doesn’t follow a script, and a good contractor will partner with you to reschedule around unexpected rain or wind. They’ll make sure the job is done right, never rushed.
Common Questions About Exterior House Painting
Even the most thoroughly planned project is bound to have a few questions that remain unanswered. That’s completely normal. Handling the very last minute details is like putting the final piece in the puzzle of a successful paint job. Here are some of the questions we hear most frequently.
How Long Should I Wait to Paint After It Rains?
This is a big one. It is essential to wait for the surface to become totally dry. Typically, it involves waiting for at least 24 to 48 hours after a heavy rain to have a dry surface. Particularly, wood can be quite confusing because the outer layer may feel dry while the inner part still contains a lot of moisture.
Painting over a damp wall is asking for trouble. Seriously. That trapped water has to go somewhere, and it will push its way out, taking your brand-new paint with it. The result? A mess of blisters and peeling paint. An extra day of drying time is a small price to pay to avoid that headache.
Moisture that has been trapped is the secret enemy of a long-lasting paint job. Waiting after a rain is no mere advice; it is an essential step to make sure that the paint is able to establish a firm and permanent bond with the surface. A little time spent waiting now saves a lot of work scraping later.
Can I Paint if It Gets Cold at Night?
We are frequently asked this question, particularly when the weather is great in Colorado in the fall. The truth is, it is a gamble. The majority of the time, even when the temperature during the day is a perfect 65°F, the latex paints should be kept at a temperature above 50°F for a whole 24-48 hours for them to dry correctly.
When the temperature drops below that threshold overnight, the paint’s curing process just stops cold. Besides, it doesn’t really harden in a way to form the protective film that it actually should. You will get a weak adhesive, a dusty finish, and the whole paint job will be short-lived. It’s a more sensible choice to find a weather window when both the days and the nights are sufficiently warm.
What Happens If I Paint in Direct Sunlight?
Painting a sun-baked wall is one of the quickest ways to ruin your work. The intense heat literally cooks the paint, causing the top layer to dry almost instantly. This traps all the solvents underneath before they have a chance to evaporate naturally.
This “flash drying” creates a whole host of issues, from ugly blisters and cracks to very obvious brush and roller marks. For the best finish, you have to work in the shade. We call it “chasing the shade,” starting on the west side in the morning and run to the east side in the afternoon. It’s more than just a pro tip; it is necessary for a neat, professional-looking finish that lasts.
Are you ready to get a flawless finish without all the guessing? The pros at I PAINT STUFF are experts in Colorado’s unique weather patterns. We are the ones who can tell you exactly when and how to paint your house to get a beautiful, durable finish. Call us today to schedule your free, no-obligation estimate!
