
How to Fix Water Stains on Ceiling: Fast Guide for Westminster, CO
That ugly brownish discoloration on your ceiling isn’t just an imperfection bothering your eyes. It’s like a distressed signal from your house, informing you about a problem that you really can’t overlook. Homeowners in Westminster, Thornton, and Northglenn barely realize that the mildew stains are just the tip of the iceberg of the very big problem concealed inside their walls.
Ignoring it is like hitting the snooze button on an alarm; the problem doesn’t disappear but gets only worse. Here in Colorado we are familiar with the weather being so unpredictable. A sudden summer hailstorm can easily damage your roof, while heavy spring snowmelt in areas like Boulder and Superior can get in through the tiniest cracks in your home’s defenses. Most times, a slow leak that goes unnoticed for a long time eventually comes to light as a nasty stain on your living room ceiling.
Don’t Just Paint Over It
Are you tempted to simply get a paintbrush and hide it away? This will be the biggest error you make. The dampness that led to the discoloration is, in all likelihood, still confined to the drywall or plaster. Hence, this will form an ideal environment for mold growth and will gradually deteriorate the strength of your ceiling.
Delaying the fix is a costly mistake. We’ve seen it time and again in homes from Westminster to Lafayette. A minor ceiling repair for a fresh, small leak might run you $300 to $800. But if you wait and let mold take hold, you could end up paying an additional $500 to $3,000 for professional remediation on top of the initial repair costs. The price of procrastination is steep.
Getting to the Root of the Problem
This ugly stain on the ceiling may only be a glimpse of a more serious problem. Apart from the stained ceiling, one must always keep eyes open for other less obvious things. But very important signs of water damage to the ceiling, like bubbling or peeling paint, a constant musty smell, or even a slight sagging of the drywall.
From my experience working on homes all over the Front Range, from Thornton to Boulder, the culprits usually fall into one of three categories:
- Roof Leaks: This is a big one in Colorado. Hail damage, aging shingles, or failed flashing around vents and chimneys are common entry points for water.
- Plumbing Issues: A slow drip from a pipe in an upstairs bathroom or a faulty toilet wax ring can lead to a persistent, slowly expanding stain below.
- Condensation: Attics or bathrooms that are not adequately ventilated sometimes trap warm, moist air. When this moisture comes into contact with cold surfaces, it condenses and, in the end, soaks the materials of the ceiling.
We, at I PAINT STUFF, have come across the whole spectrum of water stains in neighborhoods of Westminster, Northglenn, and Superior. Since a good repair means much more than merely a good-looking surface
In fact, it means finding the source of the leak, stopping it, and properly fixing your ceiling so that the value of your home is preserved and the health of your family is safeguarded.
For a quick overview, here’s a breakdown of the entire process, from spotting the stain to the final coat of paint.
Quick Guide to Fixing a Ceiling Water Stain
|
Phase |
Action Required |
Why It’s Critical for Colorado Homes |
|
1. Investigation |
Find the source of the water (roof, plumbing, or condensation). |
Our extreme weather shifts from Boulder to Thornton can turn a tiny leak into a major problem fast. |
|
2. Mitigation |
Stop the leak completely before doing any cosmetic work. |
Painting over an active leak is a waste of time and money; the stain will return. |
|
3. Drying & Cleaning |
Fully dry the area and treat any mildew or mold with a bleach solution. |
Lingering moisture invites mold, which can thrive in hidden, damp drywall. |
|
4. Repair |
Scrape away damaged material and patch the drywall or plaster. |
Ensures a smooth, professional-looking surface for priming and painting. |
|
5. Priming |
Apply a quality stain-blocking primer (2 coats recommended). |
This is non-negotiable. It prevents the stain from bleeding through the new paint. |
|
6. Painting |
Repaint the patched area, feathering the edges to match the ceiling texture. |
Correctly matching the paint and finish makes the repair invisible. |
Following these steps ensures you’re not just covering up a symptom but truly solving the underlying problem, protecting your home for years to come.
Finding the Source of the Water Leak
If your first thought was to simply cover up that nasty brown patch on the ceiling with some paint, then it’s time you wear your detective hat. The stain is merely the result; the actual issue is a water source that is still active, and your first task is to locate it. One way of proceeding in your inquiry is to learn how to identify the signs of a leaking roof and other commonly found offenders.
Here in Colorado, our wild weather often gives us big clues. If a stain suddenly appears or gets darker after a classic Westminster downpour or a hailstorm rolls through Superior, your roof is almost certainly the problem. But if that stain seems to grow slowly and steadily, no matter what the weather is doing, you’re probably looking at a plumbing issue from a pipe or fixture upstairs.
Common Suspects in Colorado Homes
For example, the age and style of your home, whether it is in one of the older neighborhoods of Boulder or it is a newly constructed house in Lafayette, can be good clues. Someone with the knowledge of an old house situation might think that the pipes have gone through a lot and are probably needing replacement; on the other hand, a recent construction might come along with issues of the house settling.
Let’s break down the three most common sources we see on the job:
- Roof and Exterior Leaks: These are a constant battle along the Front Range. From ice dams in the winter to wind-driven rain and hail damage, there are plenty of ways for water to sneak into your attic and onto your ceiling in Northglenn and Thornton.
- Plumbing Failures: This is a classic. A bad wax ring on an upstairs toilet, a cracked shower pan, or a slow, steady drip from a water supply line are incredibly common. These leaks often create stains that feel consistently damp and are located right below a bathroom or kitchen.
- Condensation and Poor Ventilation: This one’s a bit sneaky. In bathrooms or attics without good airflow, warm, moist air hits cold surfaces, such as pipes or the back of your drywall. The moisture collects, condenses, and eventually soaks through, creating a stain with no obvious “leak.”
This flowchart will definitely assist you in prioritizing your options. It can be a handy guide to point out if the problem is an active leak that requires your intervention at once or it’s an old, dry stain that can be masked easily.
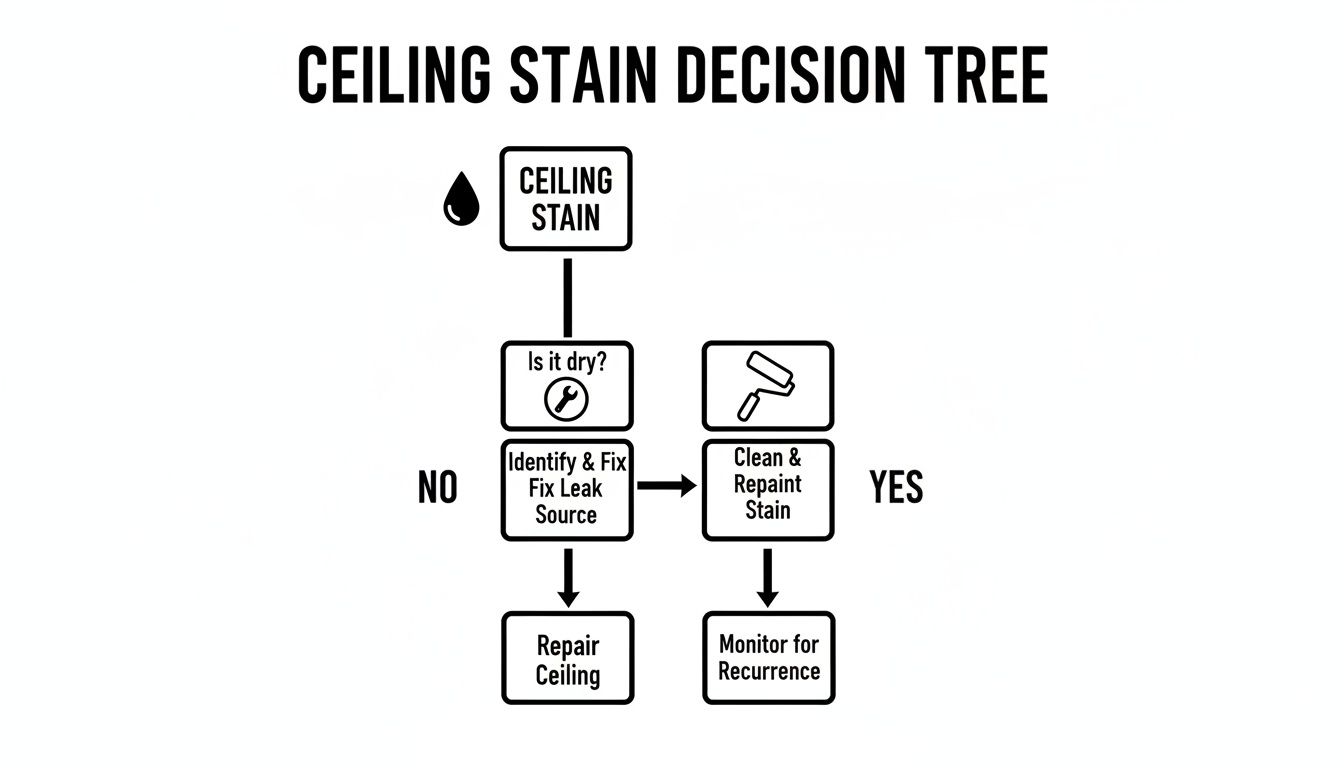
The takeaway here is simple: if the stain is wet, your first and only priority is to find and stop the water. Exterior painting nearby comes much, much later. Only after you are 100% sure the area is bone-dry should you even think about starting the repair and restoration work.
Follow the Financial Clues
Where the leak is coming from won’t only change how you fix it; it will also have a major impact on the budget. For example, repairing a simple plumbing problem may cost around $150-$350 only whereas dealing with a roof problem after a snowy Colorado winter can be very quite expensive to the tune of $500-$1, 500.
In the area from Westminster to Lafayette, our experience shows that around 60% of stains are traced back to the roof or plumbing. It’s also worth noting that plaster ceilings, which you see in many historic Boulder homes, can cost 30%-50% more to repair than modern drywall because they require a whole different level of skill.
If you can interpret it, the stain itself narrates a story. A large, spread-out, and irregular stain most of the time stands for a leaking roof, where the water has followed the path of the rafters before dripping down. However, a small, focused, circular stain most often signifies a direct drip from a plumbing fixture above it.
Getting the Ceiling Ready for a Flawless Repair
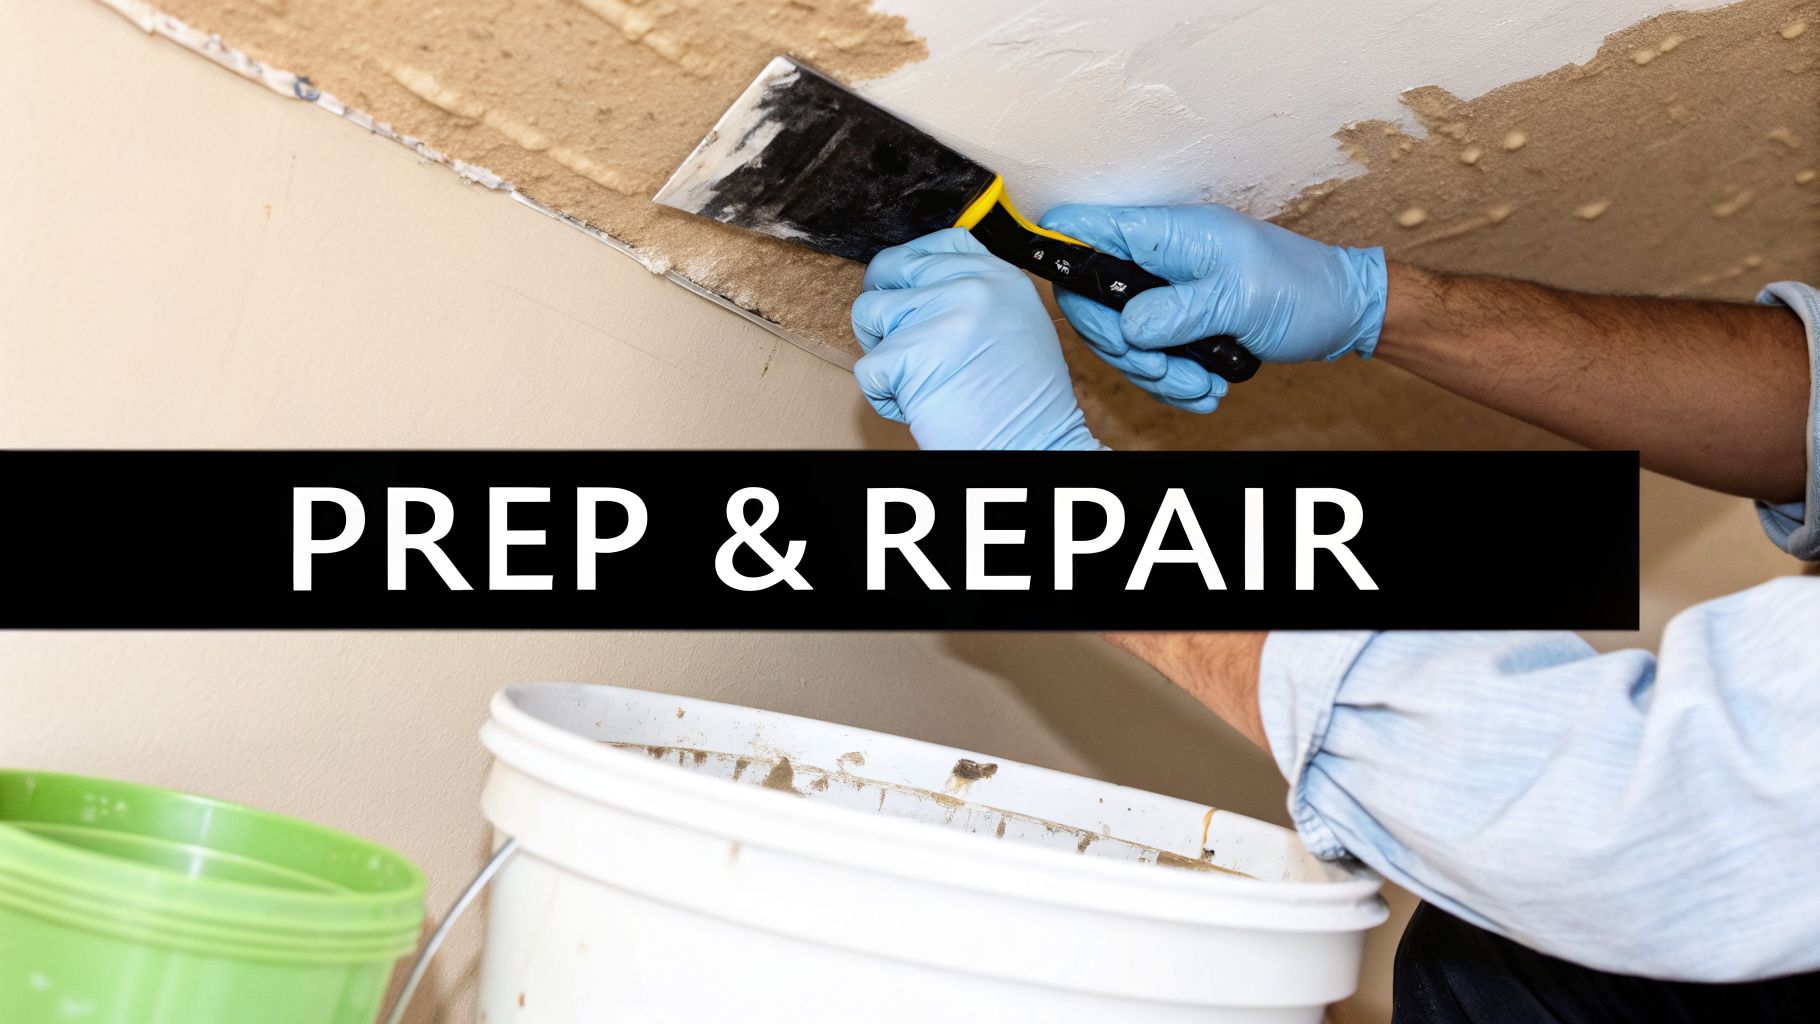
Alright, you’ve tracked down and stopped the leak, and the ceiling is finally bone-dry. Now for the satisfying part: making that ugly stain disappear for good. This prep stage is critical. In fact, it’s where most DIY repairs go wrong, resulting in a new patch that’s almost as noticeable as the old stain. Taking your time here is the secret to a seamless finish.
The first step is to safeguard the area you’re working on. Repairing a ceiling can get really dirty, and drywall dust can spread to every nook and cranny. Cover your furnishings and floor with plastic sheets or drop cloths made of heavy-duty material. Here’s a neat trick: seal the dust in by taping plastic over the door opening. You’ll thank yourself during cleanup.
Clean and Treat the Stain Before You Paint
With the room prepped, you need to clean the stain itself. It’s tempting to jump right to priming, but don’t. Especially here in Colorado, our dry air can be deceiving. Any trace of moisture is an invitation for mildew or mold to take root.
Prepare a simple yet very effective mixture: bleach one part and warm water three parts. You’ll need gloves and eye protection during the working process. Then carefully wipe the whole area with the stain. This will not only kill surface mold but also help to lift some discoloration, so your primer will be ready to work. The spot must be completely dry, and 24 hours should be given for it to be safe.
A clean, unblemished ceiling is more than just a cosmetic touch; it’s a real asset, especially if you’re managing a property or thinking of selling in the competitive Westminster-Boulder corridor. Ignoring a stain can turn a small job into a major headache. On the flip side, a proactive repair not only prevents bigger issues but can even boost your property’s value by 3-7%, according to recent market data. You can dig into the numbers in this report on water damage trends.
Repairing Bubbled Paint and Damaged Drywall
You should now focus thoroughly on the surface.
Are the paint bubbles or being flakes? Is the drywall dry or does it crumble when you touch it? In case the damage is not only a stain but also a disfigurement, you will have to do a patch. Homeowners in Thornton, Northglenn, and Lafayette will agree that this is a critical step of the process of learning how to do water stain repair on the ceiling correctly.
Your Repair Toolkit:
- A good putty knife: For scraping away all the loose bits.
- Spackle or drywall compound: used to fill damage and smooth the surface.
- Fine-grit sandpaper (120- or 150-grit): For creating that perfectly smooth finish.
Start by using your putty knife to carefully scrape off any peeling paint or flaking drywall. You need a solid, stable foundation for your repair. Don’t be shy; if it’s loose, it has to go.
Once the area is clean and solid, apply a thin, even layer of spackle or drywall compound to fill the patch. The real trick to an invisible repair is to feather the edges. This means you apply the compound so it’s slightly thicker at the center of the patch and gets paper-thin as you blend it outward into the existing ceiling. It’s a technique our team at I PAINT STUFF has perfected over the years, and it’s what prevents that obvious “hump” you see in amateur patch jobs.
Let the compound dry completely as directed, then lightly sand it until it’s perfectly smooth and flush with the surrounding ceiling. Run your hand over it; you shouldn’t be able to feel where the patch begins or ends.
How to Prime and Paint for a Seamless Finish
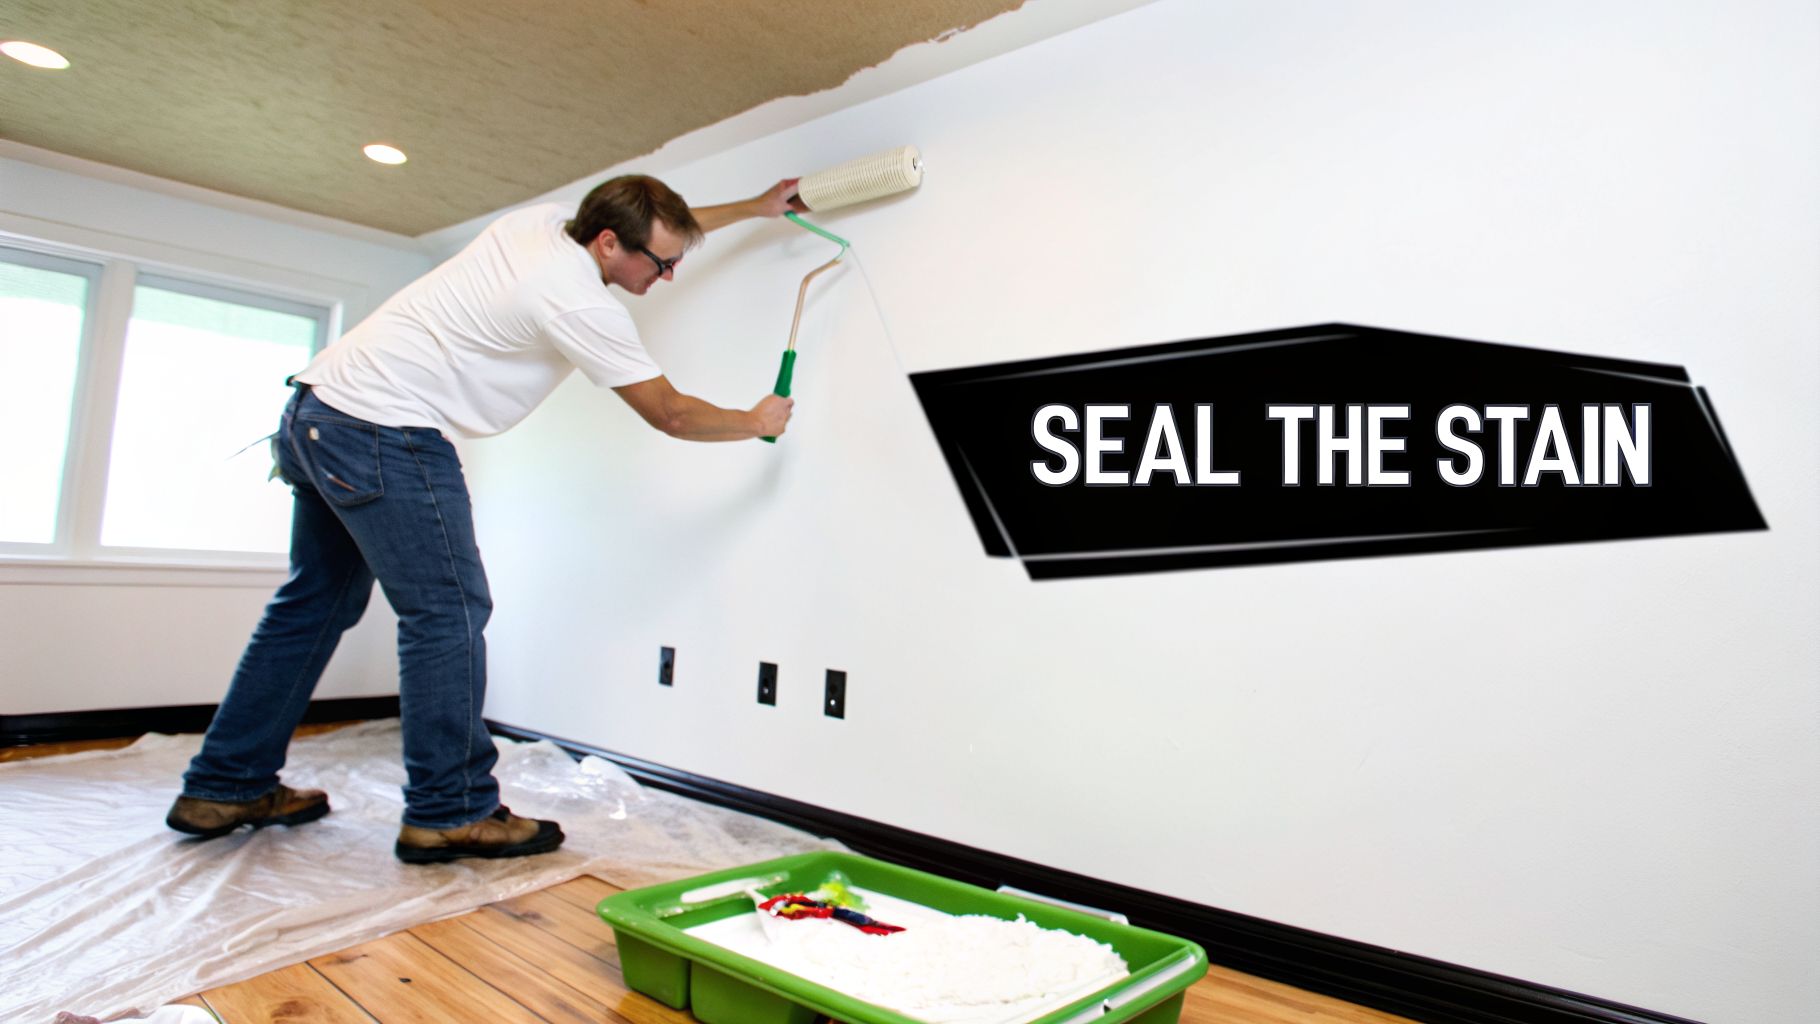
You’ve stopped the leak, dried the area, and patched the damage. Now for the satisfying part, making that repaired patch blend back into a flawless ceiling. But don’t rush this last step. Getting the finish wrong is like running a marathon and tripping just before the finish line; it can undo all your hard work.
The most critical decision you’ll make now is choosing the right primer. This is non-negotiable. To permanently remove that water stain, you must use a stain-blocking primer. A standard latex primer just won’t work here. The minerals and tannins from the water damage will eventually bleed right through it, sometimes in weeks, and you’ll be staring at that ugly brown spot all over again.
We can’t stress this enough: your best bet is an oil-based or shellac-based stain-blocking primer. These formulas create a powerful barrier that chemically locks the stain in place, preventing it from ever reappearing. It’s the professional’s secret to a permanent fix.
To make sure you have a really good seal, put on at least two thin, evenly spread layers of your stain-blocking primer. Make sure the first layer is fully, really fully dry before applying the second. This task is critical for a successful fix. And if you are curious about the technical side, you can find out more about the reasons for priming drywall before painting in our in-depth guide.
Matching Paint Color and Sheen
With the stain sealed away, your next challenge is making the new paint disappear. A perfect match isn’t just about the color; you also have to match the sheen, which is the paint’s level of gloss. Even with the right color, a flat paint patch on an eggshell ceiling will stick out like a sore thumb.
The most foolproof way to ensure a perfect match is to bring a physical sample to the paint store. Carefully cut a small chip, about the size of a quarter, from an area near the repair that won’t be noticeable. The pros at the paint counter can use a spectrophotometer to analyze it and mix a custom color that’s practically identical.
Pro-Tips for a Perfect Match:
- Always test the new paint on a small, hidden spot before tackling the entire repair.
- Let that test spot dry completely. Paint colors can look different when they’re wet versus when they’re fully cured.
- To blend the repair smoothly, try a technique called “feathering.” Paint the patch itself first, then use a lightly loaded roller or brush to extend the new paint out into the existing ceiling, softening the edges.
Tackling Tricky Ceiling Textures
Matching color is one thing, but matching texture is where many DIY repairs go wrong, especially in homes across the Westminster and Boulder areas. Ceilings are rarely perfectly flat. You might have a common knockdown texture, a subtle orange peel, or the dreaded popcorn ceiling, which is notoriously difficult to patch seamlessly.
Recreating these textures takes specific tools and a steady hand. While you can find aerosol texture products at most hardware stores, getting a flawless blend is a true art form. For anything more complex than a basic flat finish, this is often where calling a professional painter nearby in Northglenn or Superior saves you a ton of time, frustration, and even money. A pro has the skill to make the repair truly vanish, leaving you with a ceiling that looks like nothing ever happened.
When to Call in a Professional Painter
Confidence is great when you want to take on a DIY project, but the smart thing to do is to recognize when you can’t go any further, particularly with ceiling repairs. It is extremely satisfying to completely remove a small, uncomplicated stain over a weekend. Yet, there are some signs that give a clear message to stop your work and phone a professional instead. Ignoring these red flags will make the problem, which is minor now, a very large and costly one.
For homeowners in Westminster, Boulder, and the surrounding areas, knowing how to fix water stains on a ceiling often just means knowing when to make a phone call. If you notice any of the following, it’s a strong sign the job is better left to an expert.
Red Flags That Mean You Need a Pro
Not all problems are just surface level irritations some of them are indicative of deeper and serious problems. If by chance you encounter any of these cases, do not hesitate to contact us for assistance.
- The Stain is Massive: A tiny, contained spot is one thing. But if you’re looking at a stain that’s bigger than a dinner plate, it means a significant amount of water has soaked the drywall. This can seriously compromise its structural integrity.
- The Ceiling is Sagging or Bubbling: Is the drywall bowing, sagging, or bubbling? Those are classic symptoms of the drywall being saturated with water and getting very heavy. This kind of drywall doesn’t just need an upgrade-the whole ceiling area has been compromised. Moreover, such a job is best handled by a professional.
- A Musty Smell Won’t Go Away: If you notice a persistent, earthy odor, you’re smelling mold or mildew that has taken root behind the drywall. Just painting over it is the worst thing you can do. The mold needs to be professionally and safely removed to prevent it from coming back.
- The Stain Returns: This is a frustrating one. You were sure you fixed the leak, you did the whole repair, and a few weeks later, that ugly brown spot is creeping back. It’s a sure-fire sign the original leak wasn’t fully fixed. A pro can track down the true source and stop it for good.
For property managers in the Thornton or Northglenn areas, hiring a professional painter shouldn’t be seen as a luxury but a necessity. At times when tenant turnover times are limited, and you’re in dire need of impeccable results, a professional painter allows you to be at peace, as the work will be done the first time correctly. It also serves as a safeguard for your investment and reputation.
The Value of Local Expertise
The major advantage of hiring a local and trusted painting company is that you get peace of mind, which you cannot get from a DIY project. An experienced team that is familiar with repairing water damage in homes across Lafayette and Superior will have the necessary tools and materials for the job. Most importantly, we are familiar with the tricks of complex texture matching and seamless blending that a repair becomes invisible.
If you’re trying to decide what to do, it helps to understand how to find reputable local painting companies nearby.
With a professional on your side, you get clear, upfront pricing and a guarantee of a quality finish. You also get the assurance that the repair will withstand Colorado’s unique climate. It’s simply the smartest way to protect your home’s value and ensure the job is done right from start to finish.
Your Top Questions About Ceiling Stains Answered
You probably get worried when you see that ugly brown spot on your ceiling. It is a common problem for home owners in Westminster, Thornton, Northglenn, and other places.
Since you might have questions about it, first we will discuss some questions that people ask us often.
Can I Just Paint Over a Light Water Stain?
We get this one a lot, and the answer is always a firm no. Simply covering a water stain with a fresh coat of paint is like putting a small bandage on a big wound. It might hide the symptom for a little while, but the original discoloration will almost certainly bleed right back through.
What’s more dangerous is that you’re ignoring the root cause. That stain is your ceiling’s way of telling you there’s a moisture problem somewhere. Leaving it unaddressed can lead to rotted wood, serious structural damage, and a hidden mold problem in your attic or walls. Those are far bigger and more expensive headaches than the initial stain ever was.
How Do I Know if a Water Stain is New or Old?
Figuring out if you have an active leak or just the ghost of a past one is your first diagnostic step. It’s usually pretty straightforward.
A new or active leak will feel damp to the touch. The stain might look blurry around the edges, without a sharp, defined ring. The easiest way to know for sure? Press a dry paper towel against the spot. If it picks up any moisture, you’ve got an active leak on your hands.
An old, dry stain is just what it sounds like, completely dry. These often have very distinct, dark rings around the outside, kind of like the mark a coffee cup leaves on a coaster.
Even if a stain is old, it’s a sign that a problem occurred at some point. With the kind of weather we see in places like Lafayette and Superior, it’s always a good idea to double-check that the original issue was truly fixed and isn’t just waiting for the next big storm.
How Long Does It Really Take to Fix a Ceiling Stain?
The timeline depends entirely on what you find. Tracking down and stopping the leak could be a quick, few-hour fix for an easily accessible pipe, or it could take days if it’s a complex roofing issue.
When the source is connected, you will have to wait. The ceiling materials have to dry fully, which in most cases will take 24 to 48 hours.
The actual work of cleaning up, patching, priming, and painting a repair can take as long as a couple of days to allow for drying between the steps. A skilled worker can generally complete a small-to-medium-sized repair in a home in Boulder within two or three quite short visits.
Let’s be clear: a water stain isn’t just an eyesore. A ceiling that stays wet can eventually weaken, sag, and even collapse. It’s also the perfect breeding ground for mold. The fastest, safest, and ultimately cheapest approach is always to deal with a stain as soon as you notice it.
What’s the Difference Between a Water Stain and Mold?
Knowing which one you’re dealing with is critical, as the remedies are very different.
A water stain is just discoloration. Think of it as a flat, brownish, or yellowish spot soaked into the drywall or plaster.
In contrast, mold is a living thing, and it generally has a texture. It can be fuzzy, slimy, or look like a bunch of black, green, or white spots. In the majority of cases, a very strong musty or earthy smell will be recognized. A water stain should not be overlooked; the existence of mold means that the moisture must have been there for quite a long time in order for the fungus to grow, and that the cleaning will have to be significantly increased, with the use of proper protective gear.
Don’t let a ceiling stain compromise your home’s integrity or your family’s health. For a professional fix that makes the damage vanish for good, you can count on the team of local painting contractors at I PAINT STUFF. We deliver fast, honest quotes and beautiful results built to last in the Colorado climate. Head over to our website at https://yourpaintingpro.com to get your free estimate today.
