
How to Paint Kitchen Cabinets for a Flawless DIY Finish
Painting your kitchen cabinets proudly remains one of the biggest-impact DIY projects. It changes the appearance and vibe of the kitchen almost like a brand new one but for a very small part of the cost of a full remodeling. However, the trick is not only painting; it is also in the very thorough preparation of cleaning, sanding, and priming. When you nail these stages, you can expect a super smooth, almost factory-like finish that will make the entire space look fresh.
Your Blueprint for a Stunning Cabinet Transformation
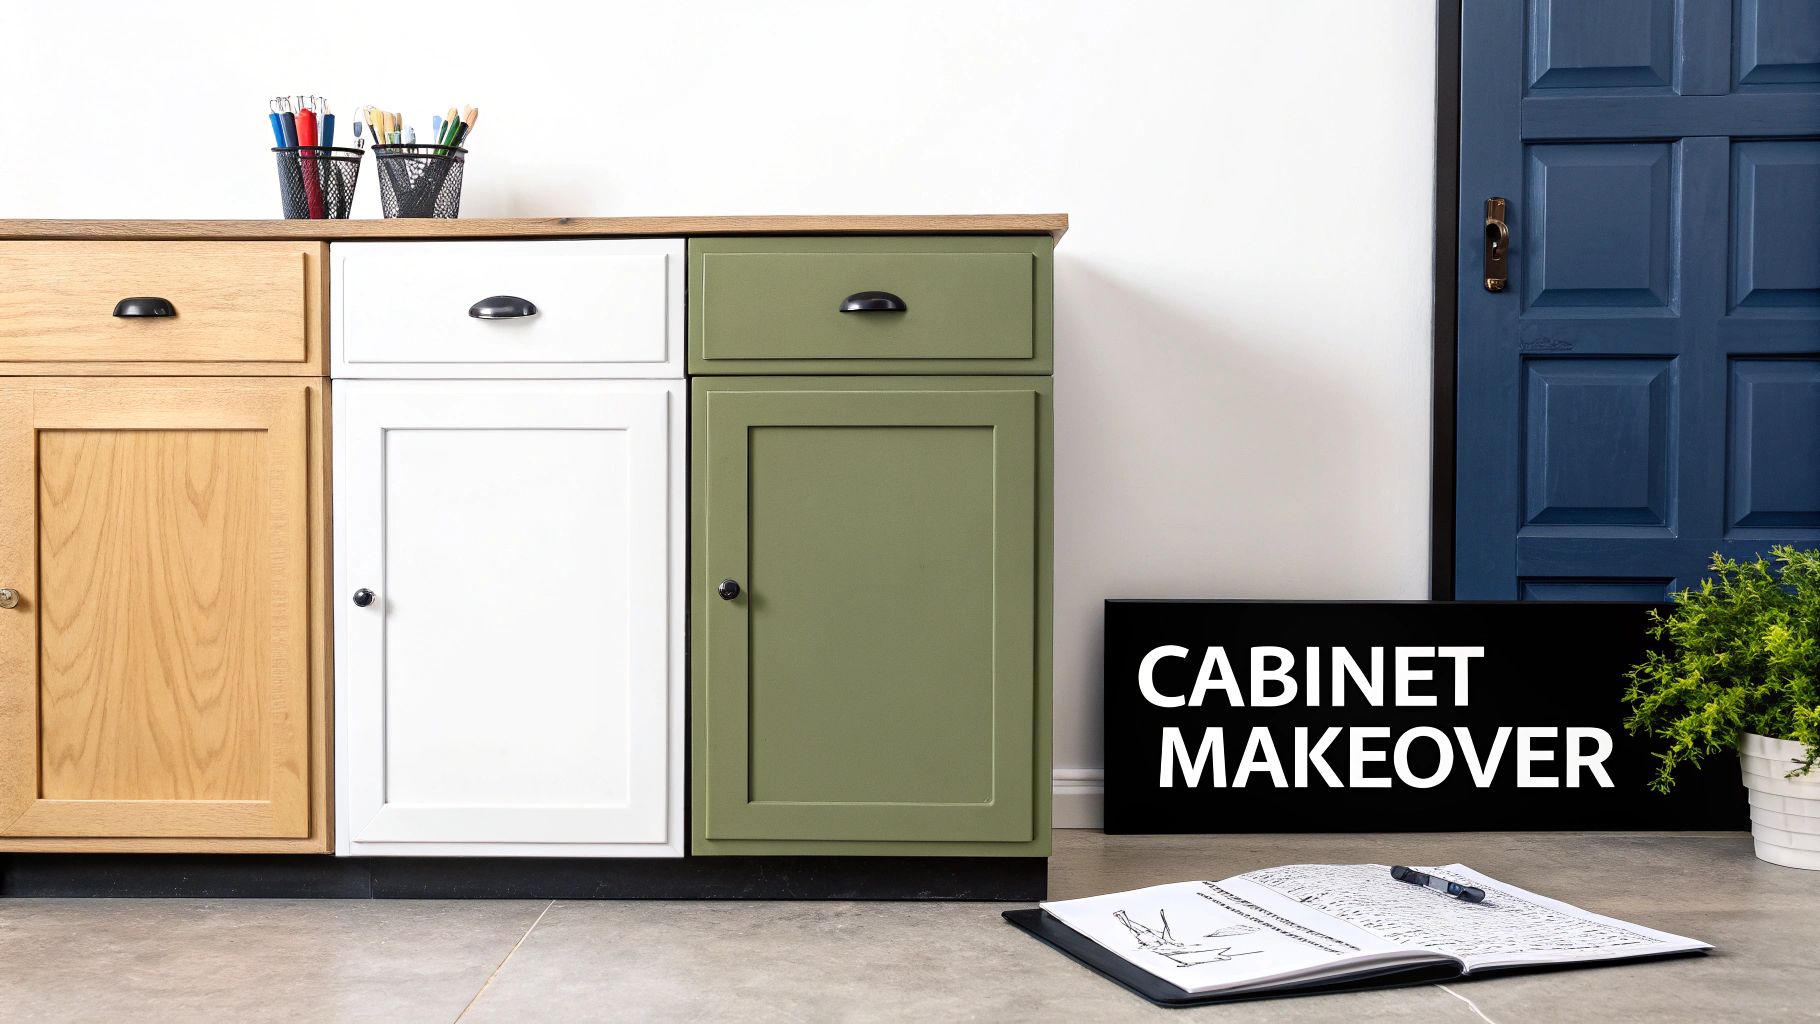
Getting rid of your entire kitchen is not necessary just to give it a fresh and modern look. One of the greatest ways of making a major impact without spending a fortune is figuring out how to paint kitchen cabinets. Consider this tutorial as the ultimate source of information for you that will guide you through each and every step, starting with the disassembly and ending with the snapping of the knobs.
This project is about more than just slapping on a new color. It’s about creating a tough, durable surface that can handle the daily chaos of a busy kitchen. A truly successful job comes down to doing each phase right. We’ll get into the non-negotiable steps that guarantee a result you’ll be proud of.
The Phases of a Flawless Finish
Getting that highly desirable, nearly sprayed on, appearance requires you to have a very good strategy for this project. We have witnessed it over and over: the top DIY fails are usually the cases when the people lose their patience and haste or skip the dull parts.
Here’s how we’ll break down the process into manageable stages:
- Systematic Disassembly: I’ll show you how to properly remove and label every door, drawer, and hinge. This simple organizational trick saves you from a massive headache during reassembly.
- Deep Cleaning and Sanding: We’ll cover the best ways to cut through years of kitchen grease and how to properly scuff the surface so your primer has something to really bite into.
- Priming for Durability: Discover why a high-adhesion bonding primer is your absolute best friend for this job. It’s the key to creating a uniform, bulletproof base for your paint.
- Painting with Precision: Get my go-to tips for applying smooth, even coats of paint, whether you’re using a brush or roller, to avoid those tell-tale brush strokes, drips, and weird textures.
- Curing and Reassembly: You’ll learn the critical difference between paint that’s “dry to the touch” and paint that’s fully “cured” (and why it matters so much) before you put everything back together.
A freshly painted set of cabinets doesn’t just make your home look better; it actually increases its value. It’s a project that pays you back in both daily enjoyment and potential resale value.
Why This DIY Project is So Popular
Painting is a major part of the cabinet refinishing trend, offering homeowners a much more affordable and sustainable option than a full gut job. This shift is a big reason the global cabinet refacing services market was valued at approximately USD 4.5 billion in 2023 and is projected to hit USD 7.8 billion by 2032. People are choosing to renovate rather than replace.
Of course, painting isn’t the only option. Before you commit, consider other methods, such as kitchen cabinet refacing.
However, if you are up for painting, the very first thing you should do is pick the perfect color and contact professional interior painters nearby. To get some inspiration, have a look at our kitchen cabinet paint colors that instantly refresh your space.
Choosing the Right Tools and Materials for the Job
The secret to a professional-looking paint job? It really starts with the paint gear you pick. This is one area where if you try to save a few dollars, it will definitely cost you later. Picking up regular house paint or a cheap brush may seem like you are being wise with money, but in the end, you will have to pay for a streaky finish that will peel and chip in no time.
To me, nobody would try to bake a delicious cake with stale flour. In this case, your “ingredients” are top-quality primers, highly durable paints, and application tools that guarantee a flawless finish. Buying the right materials should not only be regarded as a mere suggestion but as the very first step of achieving that long-lasting, showroom-like finish.
The Foundation: Your Primer and Paint
The products you pick will literally make or break this project. Kitchens are war zones; they face grease, steam, splatters, and constant cleaning. Your paint needs to be up for the fight.
- High-Adhesion Bonding Primer: This is non-negotiable. A bonding primer is chemically engineered to bond to slick, stubborn surfaces like old varnish or laminate. Pros swear by products like Zinsser B-I-N Shellac-Base Primer or INSL-X Stix for a reason. They create a bulletproof foundation that prevents peeling before it even starts.
- Cabinet Enamel (Not Wall Paint): Your everyday latex wall paint is way too soft for cabinets. You need a dedicated cabinet enamel formulated to cure into a hard, protective shell. Modern water-based alkyd enamels like Benjamin Moore ADVANCE or Sherwin-Williams Emerald Urethane Trim Enamel are game-changers. You get the rock-hard finish of old-school oil paint but with simple soap-and-water cleanup.
This shift toward advanced water-based formulas is happening for good reason. The global water-based coatings market has hit a massive USD 74.29 billion in 2023. This is mainly due to the fact that people are getting increasingly worried about volatile organic compounds (VOCs) that come with traditional paints. As the trend of more pros and homeowners going for healthier and high-performance options continues, the figure is forecasted to increase further.
For a much deeper dive into our favorite products and why we love them, be sure to read our comprehensive guide on the best paint for kitchen cabinets.
Your Essential Supply Checklist
Nothing stalls a project faster than a mid-paint run to the hardware store. Get everything you need ready to go before you even think about popping open a can of primer.
- A good degreaser (TSP alternative or Krud Kutter works wonders)
- Plenty of microfiber cloths and a few scrub sponges
- 120-grit and 220-grit sandpaper (sanding sponges are great for profiles)
- High-quality painter’s tape (the good stuff won’t bleed)
- Drop cloths or plastic sheeting to protect everything
- A quality 2-inch angled brush for cutting in corners
- A 4- to 6-inch mini foam roller for a super-smooth finish on flat areas
- Paint trays
- Wood filler and a putty knife for any dings or holes
- Screwdriver or drill for removing all the hardware
- Labeled plastic baggies to keep your hardware organized
Pro Tip: Seriously, please do not attempt to reuse that old, crusty brush from your last project. A brand new, top quality angled brush will set you back only about $15, and the sharp lines and the neat finish it gives you are absolutely worth the money.
Choosing Your Application Method
How you get the paint onto the cabinet doors will have the biggest impact on the final texture. Each approach has its own learning curve, cost, and finish quality. Let’s break them down.
Here’s a quick look at how the three main painting methods stack up against each other.
Method | Best For | Pros | Cons | Skill Level |
Brush Only | Detailed or ornate cabinet doors; small touch-up jobs. | Lowest cost, total control, no overspray risk. | Time-consuming, very difficult to avoid brush marks. | Intermediate to Advanced |
Brush and Roller | Most DIY projects; achieving a smooth hand-painted look. | Affordable, relatively easy to learn, great results possible. | Slower than spraying, can leave a slight “orange peel” texture. | Beginner |
Paint Sprayer | Achieving a flawless, factory-finish look; large kitchens. | The smoothest possible finish, very fast application. | High initial cost, steep learning curve, extensive prep needed. | Advanced |
A brush and roller combo still remains the most popular choice for power-painting among DIYers and yields great results. But if you want to get that flawless smoothness of a glass finish and don’t mind sacrificing your time and money, a sprayer is your pick.
The Make-or-Break Stage: Nailing the Prep Work
Ask any professional painter nearby what the secret to a perfect cabinet finish is, and you’ll get the same answer every time: it’s all in the prep. I’m not exaggerating when I say that this is 90% of the job. This is where you lay the groundwork for a durable, beautiful result that will last for years.
One of the biggest errors I see from homeowners is simply skipping steps. This is how one gets paint that peels, chips and even looks amateur. Let me put it this way: a clean, well-prepared surface provides the primer and paint with the best grip, so the bond is very strong. However, if the foundation is not there, even the best paint in the world will be doomed to failure.
This part of the project isn’t glamorous, but it is absolutely non-negotiable. Let’s walk through everything from disassembly to sanding so you can create the perfect canvas.
Start with Smart Disassembly and Labeling
Before you even think about cleaning or sanding, the first order of business is getting organized. You need to carefully remove all the doors, drawer fronts, and all hardware. Trust me, taking a few extra minutes now will save you from a massive headache when it’s time to put it all back together.
A simple labeling system is your best friend here. We like to use painter’s tape and a permanent marker; it’s foolproof.
- Label Every Single Piece: Stick a piece of tape inside the cabinet box (e.g., “Upper Left 1”) and place a matching label on the back of the door you just removed.
- Bag and Tag Your Hardware: Toss all the hinges and screws from that door into a small plastic bag and label it “Upper Left 1 Hardware.”
This system ensures that each hinge comes back to its exact original spot with its original screws. Cabinets settle and wear in different ways over the years, so mixing up the hardware is a sure way to get crooked doors and uneven gaps.
The All-Important Degreasing Step
Kitchens are ground zero for grease. Years of cooking spray, airborne oils, and fingerprints build up an invisible film on your cabinets that paint simply cannot stick to. This is why a deep, thorough degreasing is probably the most critical part of your prep.
Your average all-purpose cleaner won’t do the trick here. You need something that means business. We recommend a Trisodium Phosphate (TSP) alternative or a dedicated degreasing product, such as Krud Kutter.
Here’s the bottom line: Paint will not bond to a greasy surface. If you skimp on this cleaning step, your new paint job is almost guaranteed to fail, often peeling off in sheets within a few weeks. It’s the absolute foundation of a lasting finish.
Take a scouring sponge, and you should not leave a single inch of cabinet boxes, doors, and drawer fronts without scrubbing. The areas that are adjacent to the stove, microwave, and sink should be given extra care because these are usually the dirtiest spots. When you have finished the scrubbing, go over all the surfaces with a clean cloth moistened with plain water to get rid of any traces of the cleaner.
It’s a detailed process, but for a deeper dive, check out our complete guide to prepping cabinets for painting. Also, you can find professional cabinet painting companies nearby for more insight.
Sanding for Ultimate Adhesion
With your cabinets sparkling clean and completely dry, it’s time to sand. Now, the goal here isn’t to strip the old finish down to bare wood. You just want to “scuff up” the surface. This light sanding creates thousands of microscopic scratches that give the primer something to physically grab onto, which makes a world of difference for adhesion.
For most wood or previously painted cabinets, a 120-grit sandpaper is the sweet spot for this initial scuff sand. It’s got enough bite to degloss the surface without leaving deep, visible scratches. Afterward, I always do a quick follow-up pass with 220-grit to smooth things out for a flawless base.
- On Wood Cabinets: Use a sanding sponge or sandpaper to lightly scuff every surface until the original sheen is gone.
- On Laminate/Thermofoil: These slick surfaces are tricky. A very light scuff sand is still a good idea, but the real hero for these materials is a high-quality bonding primer, which we’ll get into next.
After sanding, your kitchen will be a dust zone. First, use a vacuum with a soft brush attachment to remove most of it. Then, follow up with a tack cloth to wipe down every surface and pick up any fine particles left behind. You need a perfectly clean, dust-free surface before a drop of primer touches it.
Next up, we’ll be applying that primer. The tools you use will directly impact your final finish.
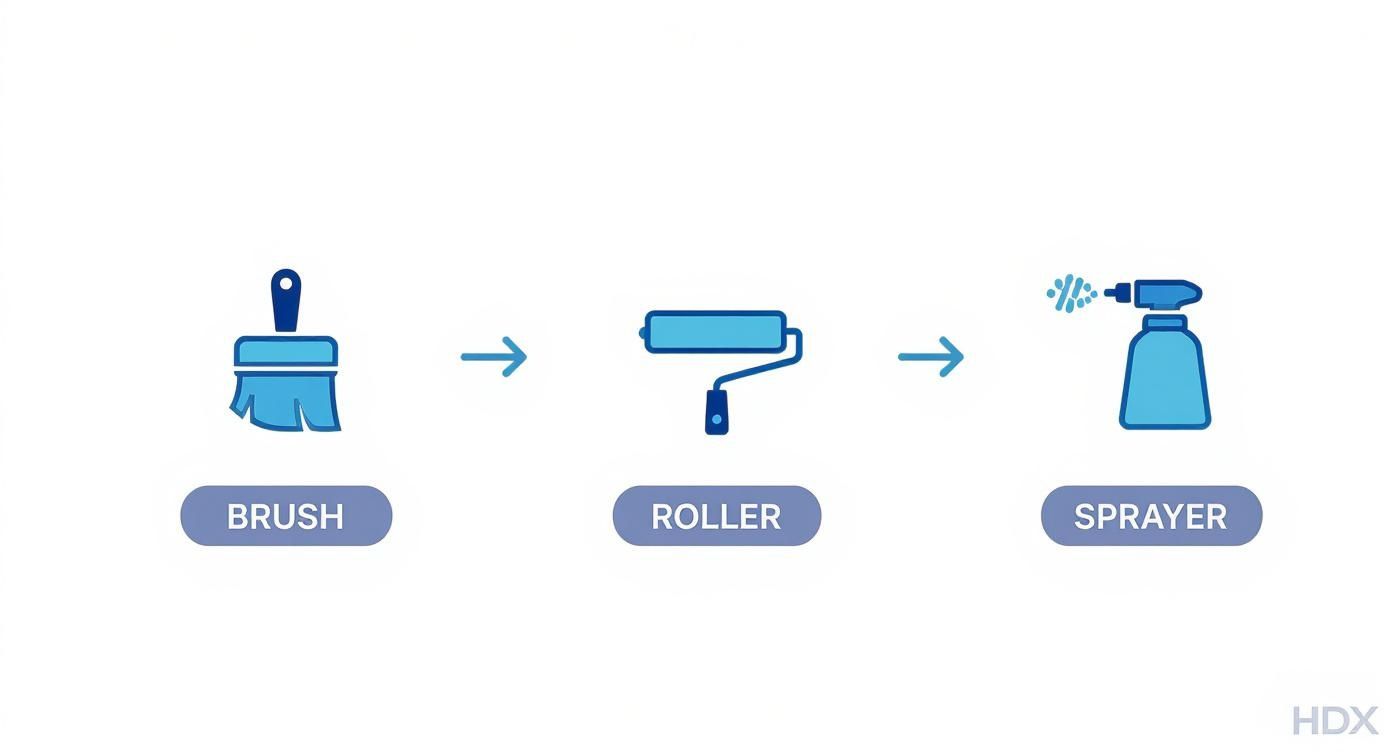
As you can see, a sprayer will give you that ultra-smooth, factory-like look, but a brush and roller can also yield beautiful results with the right technique.
Applying Primer and Paint for a Professional Finish
You’ve done the hard part; all that tedious prep is finally behind you. Now comes the rewarding part, where you actually get to see your kitchen’s new look come to life. Getting the primer and paint application right is what separates a decent DIY job from a truly professional-looking finish. This is where your patience really pays off.
Think of primer as the critical handshake between your old cabinets and their new coat of paint. It’s a step you absolutely cannot skip if you want the job to last. A good primer creates a uniform base for the paint to stick to, blocks old stains from bleeding through, and helps the final color look rich and even.
Trying to paint without a solid primer base is just asking for trouble; you’ll end up with chipping and peeling down the road. It’s the best insurance policy for all your hard work.
Laying Down the Perfect Primer Coat
The goal with primer isn’t full, opaque coverage. You’re actually aiming for a thin, even coat that might even look a little transparent. One of the biggest mistakes I see is people slathering on primer way too thick, which just creates drips and a weird texture that will show right through your final paint job.
- Wood Cabinets: Grab a high-quality bonding primer. These are specifically made to adhere to existing finishes and, just as importantly, to block tannins from woods like oak, which can later cause ugly yellow spots.
- Laminate or Thermofoil: For these slick surfaces, you need a specialty primer. A shellac-based or adhesion-promoting primer is non-negotiable here, as it’s chemically designed to “bite” into non-porous materials where standard primers would just sit on top and peel off.
Start by using an angled brush to “cut in” all the tricky spots, grooves, inside corners, and any detailed areas. Immediately follow up on the flat surfaces with a mini foam roller. The trick is to always maintain a wet edge, which means you roll into the brushed paint while it’s still wet to blend everything together seamlessly.
Don’t panic if your primer coat looks a bit streaky and uneven. That’s totally normal. Its job is to create a bond, not to look pretty.
Perfecting Your Painting Technique
Alright, it’s time for the main event. Whether you choose to brush, roll, or spray, the golden rule is always the same: multiple thin coats are infinitely better than one thick coat. A single thick coat is a recipe for drips, takes forever to properly cure, and leaves you with a soft, gummy finish that won’t hold up.
Plan on applying at least two coats of a quality cabinet enamel. And whatever you do, give it proper time to dry between coats. Rushing this step will just pull up the previous layer and ruin your finish.
The Brush and Roller Method
This is the go-to method for most DIYers, and you can get stunning results with the right approach.
- Cut In First: Just like with the primer, use a good-angled brush on all areas your roller can’t reach. Load the brush lightly; dip only about a third of the bristles into the paint to avoid drips.
- Roll Immediately: Take your mini foam roller and roll your large flat surfaces while the paint that you brushed is still wet. Gently roll over the edges of your brushed areas to knock down any brush strokes and create a smooth, unified texture.
- Sand Between Coats: When the first coat becomes entirely dry (typically 4-6 hours, however, check the can), go over the whole surface with 220-grit sandpaper for a very gentle and quick scuff. This minute detail significantly improves the paint job by eliminating dust particles and minor blemishes and offering the second coat a flawlessly smooth surface to bond with. Use a tack cloth to clean the surface before continuing painting.
For a more detailed walkthrough, check out this expert guide to painting kitchen cabinets.
Using a Paint Sprayer
If you’re after that flawless, factory-like finish with zero texture, a sprayer is the way to go. Just be warned: it has a much steeper learning curve and requires a lot more prep work.
The main secret to spraying is diluting the paint just to the level that your sprayer manufacturer advocates. A thick one will clog the nozzle; a thin one, and you’ll get runs all over. Always do a dry run on a large piece of cardboard to figure out your spray pattern and movement.
The sprayer should be moved in smooth, even strokes and it should be kept at the same distance from the surface the whole time. The key is to keep the sprayer moving constantly so as not to cause drips or more concentrated spots. The actual application goes quickly but the time spent masking off the whole kitchen and cleaning the sprayer afterward is usually quite similar.
The Final Touch: Curing, Reassembly, and Long-Term Care
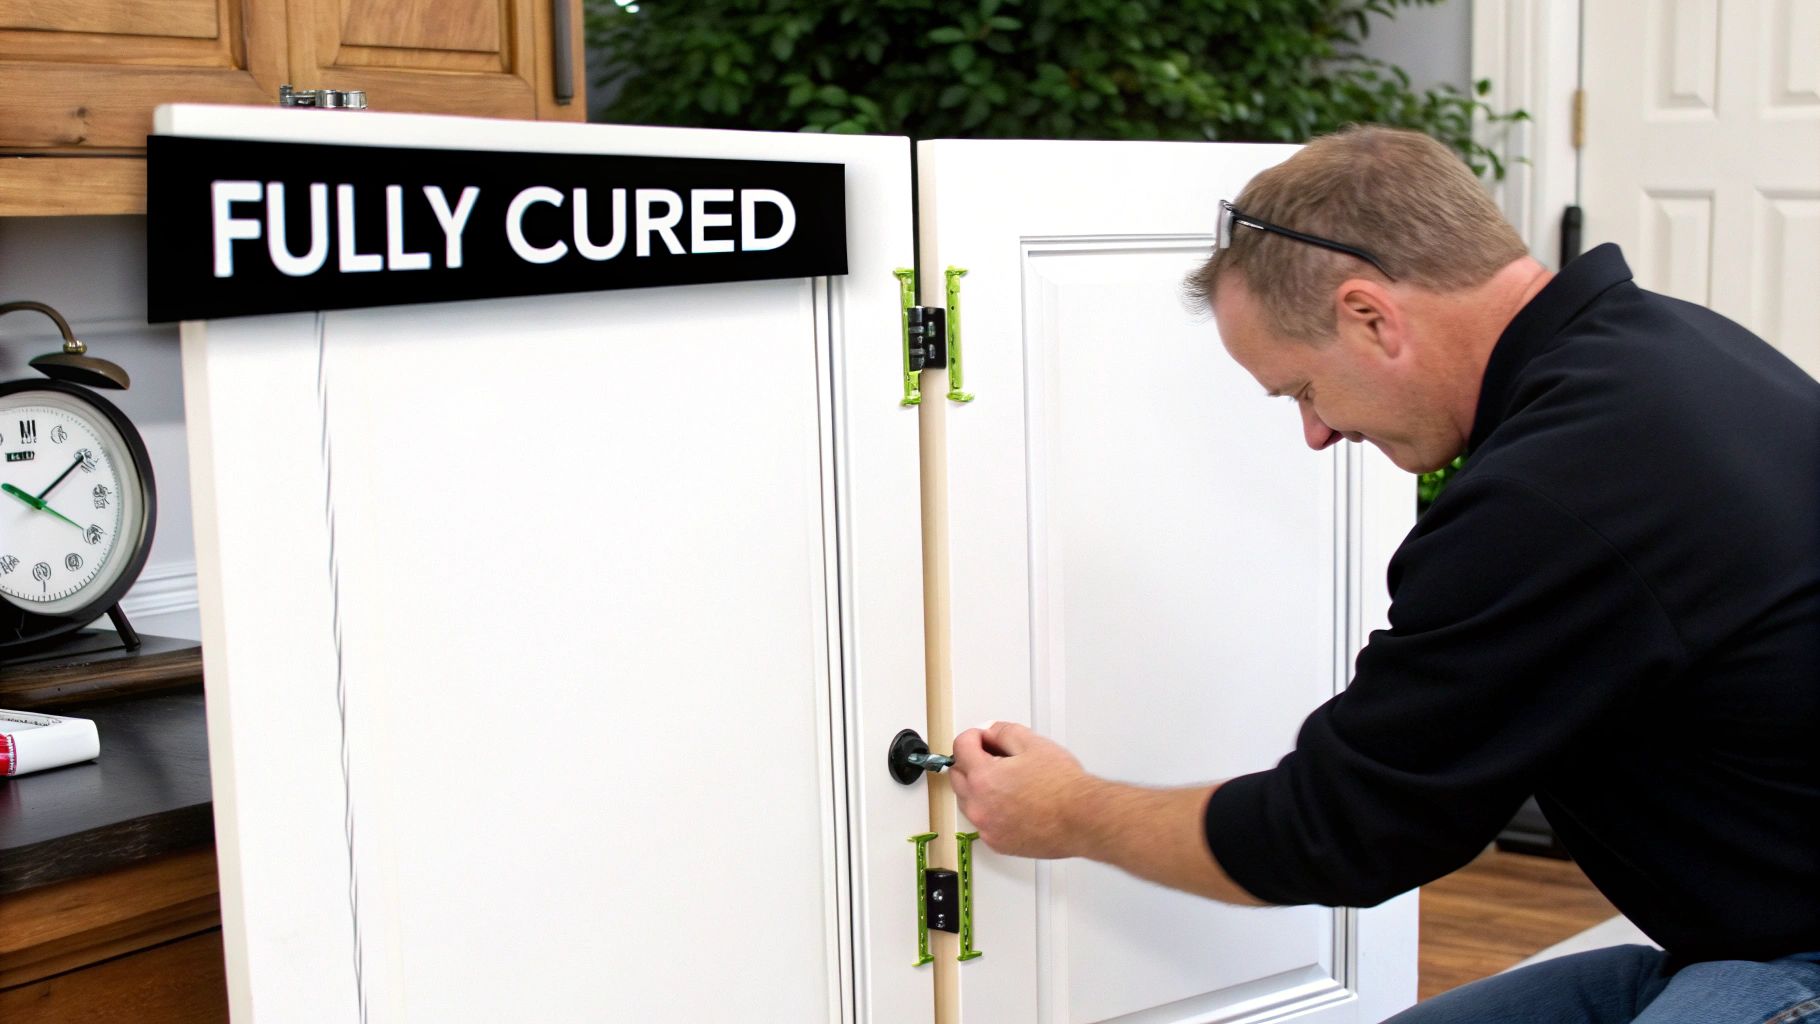
You’ve laid down that final, perfect coat of paint. The finish looks amazing, and the temptation to get your kitchen back in order is immense. But hold on. This next phase is where patience truly pays off, ensuring all your hard work stands the test of time.
This is where so many DIY projects go wrong: confusing “dry time” with “cure time.” They are worlds apart. Paint might feel dry to the touch within hours, but underneath that skin, it’s still soft and incredibly easy to damage. Curing is the slow chemical process where the paint film fully hardens to its maximum durability. For most quality cabinet paints, this takes anywhere from 21 to 30 days.
Why You Can’t Rush the Cure
Rushing this stage is the fast track to nicks, dings, and frustrating scratches on your beautiful new cabinets. We always tell people to think of it like newly poured concrete, you can walk on it long before you can drive a truck over it. Your cabinet finish needs that same kind of respect.
Here’s a realistic timeline to help you navigate the waiting game:
- First 24-48 Hours: This is a hands-off period. The paint is at its most delicate. Avoid touching or handling the doors and drawers at all, if possible.
- 3-7 Days: You can start carefully re-installing your doors and drawers. Treat them like they’re made of glass, handling them only by the edges. Work slowly and deliberately.
- 7-21 Days: Your kitchen is back in business, but with a “be gentle” policy in effect. Avoid harsh scrubbing and avoid banging pots or pans against the cabinet faces. This is also a great time to add soft-close bumpers to the inside corners.
- After 30 Days: Congratulations, your paint is fully cured! It has reached its peak hardness and is ready for everyday use and your regular cleaning routine.
Taking your time is crucial. It’s no surprise that refinishing has become a go-to for homeowners, fueling a global kitchen cabinet market that reached approximately USD 80.72 billion in 2023. You can read more about these homeowner trends in home renovation to see just how popular this approach has become.
Putting It All Back Together
After a few days at least, you can finally treat yourself to the satisfaction of putting things back together. And remember that careful labeling you did in the beginning? That is when it really helps you work out quickly where each door and hinge goes and gets you back to the way things were. As you go along, take a moment to adjust the hinges so that all the doors line up perfectly with equal spaces.
If you’re upgrading your hardware and need to drill new holes, a cabinet hardware jig is your best friend. This simple, inexpensive tool guarantees every knob and pull is perfectly level and spaced identically across every door.
Pro Tip: Before you drill a new hole, stick a small piece of painter’s tape over the spot. This simple trick prevents the wood fibers from splintering as the drill bit pushes through, leaving you with a perfectly clean hole every single time.
Keeping Your Cabinets Looking New
With your cabinets reassembled and the paint fully cured, all you need is a little simple maintenance to keep them looking fantastic for years.
For everyday cleaning, use a soft microfiber cloth dampened with a mild soap-and-water solution. Steer clear of abrasive cleaners, scouring pads, or letting too much moisture sit on the surface. These can easily dull the sheen or, worse, damage the paint finish you worked so hard to create.
Got Questions About Painting Your Cabinets? I’ve Got Answers.
Even if you have the best step-by-step guide, the idea of painting kitchen cabinets will still be a project that inevitably sparks a few last-minute questions. It’s such a big job that you are all the more careful not to make a mistake. We have been at it for years and I can attest that I have heard every question there is to ask about it.
This part serves as the trouble-shooting section of your project. We need to identify the troublesome “what ifs” and make sure that you will be able to go ahead confidently and get a durable finish.
What’s the Absolute Best Paint for Kitchen Cabinets?
If a professional-level finish that can really endure is your goal, then a high-quality acrylic alkyd hybrid enamel is the product you need. This is not your regular wall paint. A contemporary water-based product has been developed to work like the traditional oil paint, thus providing the extremely hard, durable surface and the self-leveling feature that completely masks the brush marks. What is more, you do not get any harmful odor and can clean up very easily.
The two products we see and use most often are:
- Benjamin Moore ADVANCE: This stuff is incredible. It flows out so smoothly and cures to a rock-hard, furniture-quality finish that’s perfect for a high-use kitchen.
- Sherwin-Williams Emerald Urethane Trim Enamel: Known for being ridiculously tough. It creates a flexible finish that’s amazing at resisting chips and scratches and won’t yellow over time.
Seriously, don’t be tempted to use leftover latex wall paint. It’s the biggest mistake I see DIYers make. It stays soft, scratches if you look at it wrong, and simply won’t survive the daily wear and tear of a kitchen.
Can I Really Paint Over Those Shiny Laminate or Thermofoil Cabinets?
Yes, you can, but there’s a catch. Your success hinges on one non-negotiable step: using a bonding primer. You can’t just sand these slick surfaces and expect the paint to stick. It won’t. There’s nothing for the paint to grab onto.
A high-adhesion bonding primer is the magic ingredient here. It’s formulated to chemically “bite” into glossy, stubborn materials. Here’s how you do it right:
- Degrease Like Crazy: Clean every inch to remove years of grime and cooking oil.
- Scuff It Up: A light pass with 220-grit sandpaper helps, but this isn’t the most critical part.
- Apply Your Bonding Primer: This is everything. Use a shellac-based primer like Zinsser B-I-N or a water-based one like INSL-X Stix. This creates the bulletproof foundation your topcoat needs.
Skip this step, and I guarantee your new paint will be peeling off in sheets within a few months.
Should I Brush, Roll, or Spray My Cabinets?
This really comes down to a trade-off between the finish you want, your skill level, and your patience for prep work. Each method has its pros and cons.
A neat trick for homeowners that like to do things themselves is using a hybrid approach. If you want that perfect, factory-smooth finish, spray paint the doors and drawer fronts in your garage or a workshop. Next, for the cabinet boxes inside, just use the same good quality brush and mini-roller. You will certainly enjoy the advantages of both methods.
Let’s break it down:
Method | Finish Quality | Skill Level | Prep & Cost |
Spraying | Flawless & Smooth: The ultimate professional look with zero texture. | Advanced: It takes practice to avoid runs and get an even coat. | High: Requires tons of masking, and a good sprayer is an investment. |
Brushing & Rolling | Very Good: With the right tools and technique, you can get a nearly perfect finish. | Beginner-Friendly: Much easier to control and learn on the fly. | Low: All you need is a quality brush, a mini foam roller, and some trays. |
If you’re hand-painting, invest in a good angled brush for cutting in and a mini “mohair” or foam roller for the flat panels. This combination is your best bet for minimizing texture and getting a beautiful result.
How Long Does Cabinet Paint Actually Take to Cure?
This is the one thing people get wrong all the time, and it’s the number one reason for ruining a fresh paint job. There’s a huge difference between paint that’s “dry to the touch” and paint that is “fully cured.”
- Dry Time: This is fast, usually just a few hours. The paint isn’t tacky, and you can recoat it.
- Cure Time: This is the long game. It’s the chemical process by which the paint film hardens throughout to its maximum strength. For the tough enamels we use on cabinets, this can take 21 to 30 days.
During that month-long curing period, your paint is fragile. Be gentle. Avoid harsh scrubbing, don’t slam the doors, and try not to bang pots and pans against them. Rushing to get your kitchen back to normal before the paint has fully hardened is the quickest way to end up with dings and chips. Always read the back of the can for the manufacturer’s specific timeline.
Skip the DIY and get a professional finish guaranteed? I PAINT STUFF’s crew are experts in not only producing lovely cabinet facelifts but they also make sure these cabinet features stay in great condition even after being exposed to Colorado’s hard climate. Get in touch with us today and you won’t have to wait long for an estimate, and it’ll be free as well as honest!
