
How to Stain a Deck Properly: A Complete DIY Guide
Properly staining a deck simply involves three major phases: surface prepping, stain application, and finish protection. You can say that nailing this routine is the trick to a long-lasting, neat, and top-notch result that will effectively cover your deck in the first place.
Your Blueprint For A Perfect Deck Finish
Staining your deck can be a great way to greatly improve your home’s aesthetics and feel a real sense of accomplishment, but the beautiful and durable result won’t Just happen naturally. The main key to real success is through a thoroughly detailed plan that lays out the entire project as a set of tightly interrelated actions rather than just a quick task on a Saturday afternoon. By thinking about the entire process you will also be able to avoid some typical errors that cause the stain to peel, look blotchy and the wood to rot prematurely.
This guide is that roadmap. We’ll cover the basics of prep, the application itself, and the final protection steps. It’s really important to me that you not only know how to do each step but also understand why you’re doing them.
The Three Pillars Of Deck Staining
Every great deck staining job I’ve seen comes down to nailing three core stages. If you skimp on one, you weaken the others, and you’ll likely have to redo the whole thing in a year or two.
This simple visual breaks down the workflow perfectly.
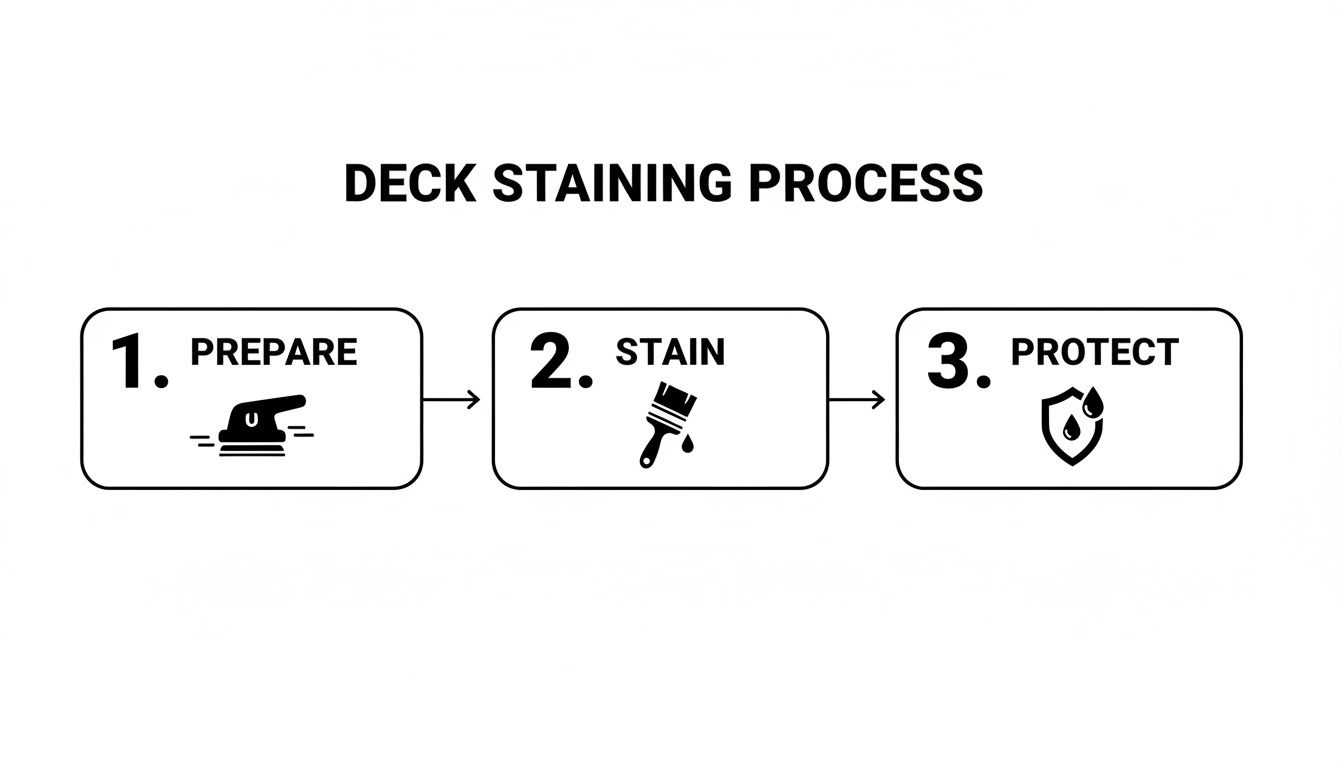
It’s pretty clear when you look at it that preparation is the base, staining is the application of color and the first layer of protection, and the final steps act as the seal that keeps everything intact for a long time.
Why Proper Staining Is A Smart Investment
Putting the right time and effort into staining your deck pays off in a big way. The global deck stain market is a staggering $2.3 billion in 2024, and that’s because homeowners know it works. Here in Colorado, a deck gets hammered by intense UV rays, heavy snow, and constant moisture, conditions that can slash its lifespan by up to 50% in just a few years.
A deck that is well stained can easily last 10-15 years more than one that is left unprotected. That means you will have saved a ton of money that otherwise would have gone to expensive repairs or a full replacement later on.
Before you get to the point of staining, one of the most important things you need to do is educating yourself on how to choose the right timber for your deck as well as a local painting contractor. The wood you choose at the beginning dictates the entire process later, and that includes the way you prepare it and the durability of the stain.
Here is a summary of the key phases, estimated time, and critical goals for a successful deck staining project.
Deck Staining Project At A Glance
Phase | Key Activities | Time Estimate (for a 350 square foot deck) | Main Goal |
Preparation | Sanding, cleaning, stripping, and repairs. | 4-6 hours (plus drying time) | To maximize stain absorption, provide a clean, porous surface. |
Application | Using brushes, rollers, or pads to apply stain. | 3-5 hours | Achieve initial wood penetration and uniform, even color. |
Protection & Curing | Before using, let the stain completely dry or cure. | 24-72 hours | For long-term durability, make sure the finish hardens correctly. |
This table helps you visualize the commitment, but remember, the time invested now prevents headaches later.
Basically, picking the perfect finish also matters a great deal. Give yourself some time to check out the various deck stain color options and see which one suits the style of your house. It is this advanced planning that differentiates a mediocre job from a deck that is gorgeous and durable.
Nailing The Prep Work For A Lasting Finish
Consider your deck stain as the paint of a classic car. People will admire the shiny color but it is actually the extensive work under the surface that makes it look good and last. Hurrying this initial stage is the biggest error I come across in home-made deck projects, and it will nearly always result in a peeling, patchy mix that needs to be redone the next year.
First of all, a really bulletproof finish has nothing to do with the way you apply a stain; it depends on a very thorough prepa-ration work. This is the moment when you do everything right to make sure that wood will absorb the stain evenly and hold it for a very long time.
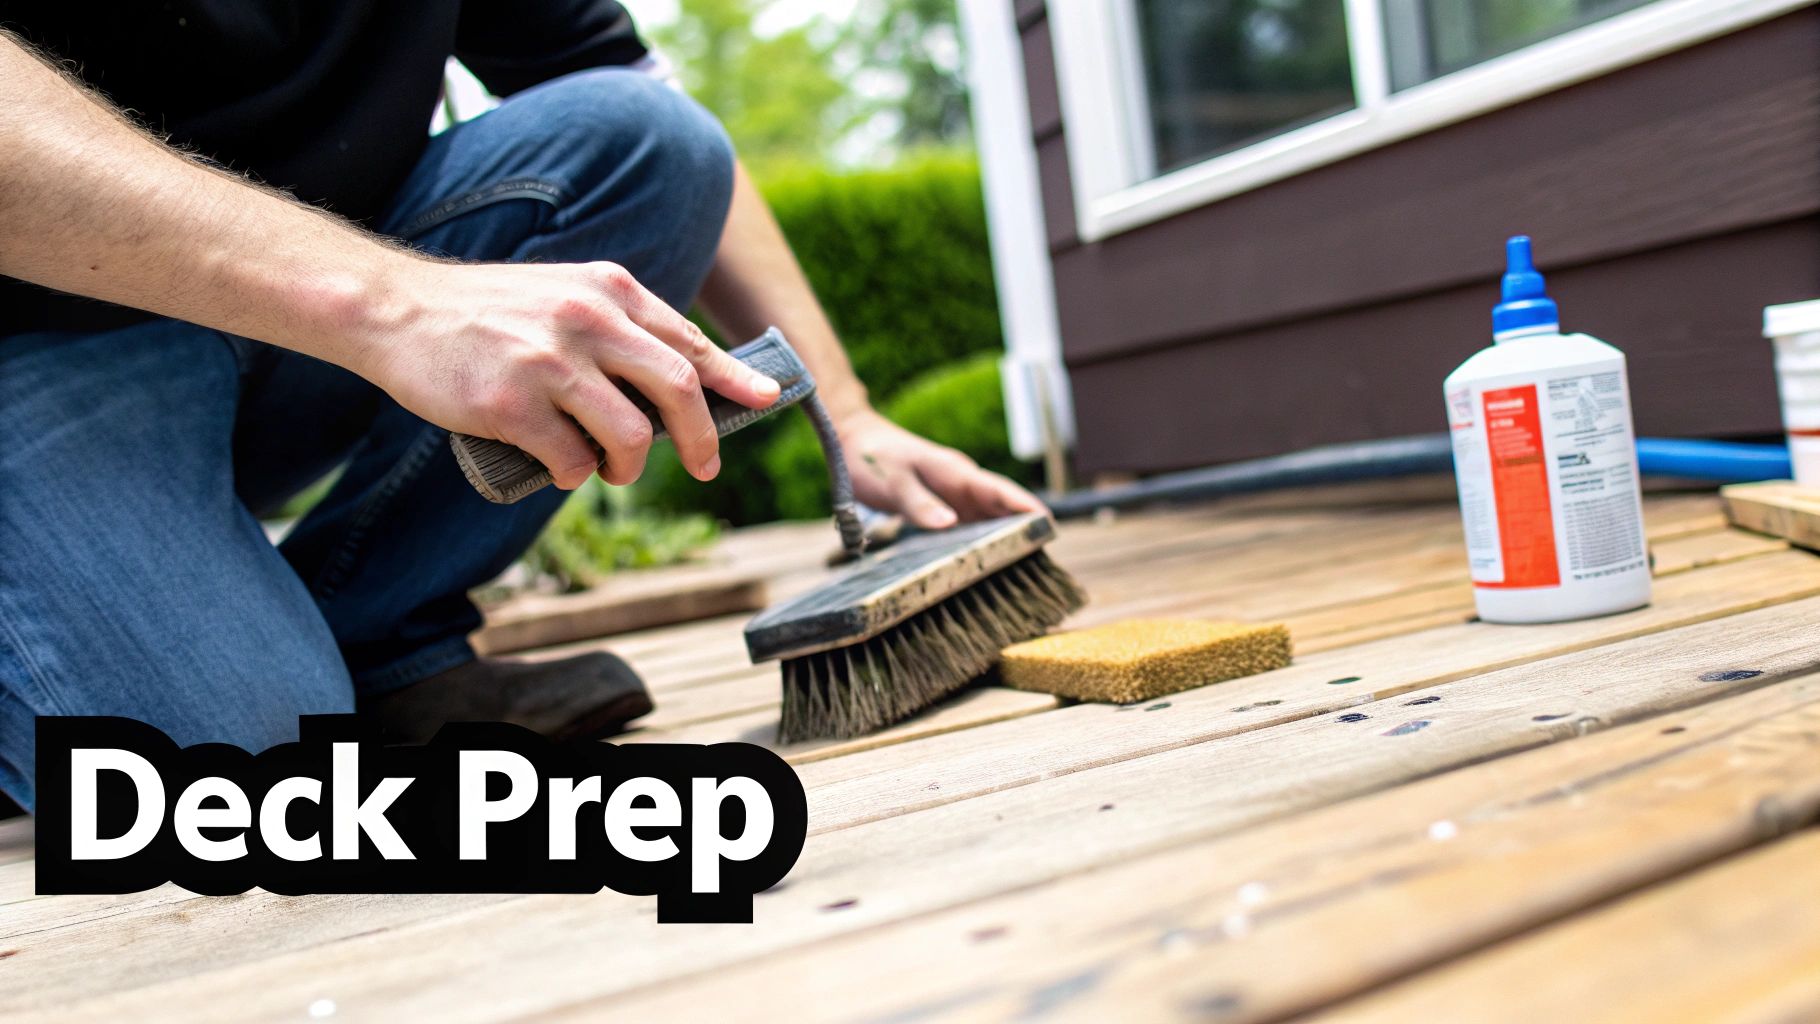
Start With a Thorough Deck Inspection
Before you even touch a cleaner or a sander, grab a screwdriver and give your deck a detailed walk-through. This isn’t a casual glance; you’re hunting for problems that will absolutely sabotage your stain job.
- Check for popped nails or screws. Pound down any nails that have worked their way up. Better yet, pull them and replace them with proper deck screws, which have far superior holding power.
- Look for loose or wobbly boards. Get them secured tightly to the joists. A board that flexes will cause the stain to crack and fail way too soon.
- Identify signs of wood rot. Use your screwdriver to probe any spots that look soft, spongy, or discolored. If it sinks in easily, that section has to be replaced before you go any further. Staining over rot is just hiding a bigger problem.
Doing these small repairs now will prevent your future major headaches. For a detailed walkthrough, see our full guide on how to prepare a deck for staining.
The Right Way To Clean Your Deck
After the restorations have been completed, it is a good idea to thoroughly wash off layers of dirt, mildew, and the old, chipping stain. The aim here is unambiguous: uncover clean, natural wood that is ready to absorb the new stain.
A good deck cleaner is essential. I always recommend an oxygenated bleach-based cleaner (look for sodium percarbonate on the label). It’s tough on mold and mildew but much gentler on the wood fibers than harsh chlorine bleach. Just follow the directions—usually, apply with a pump sprayer, let it dwell for about 15 minutes, then scrub.
Pro Tip: To scrub, always use a stiff-bristle brush and go with the wood grain. This way, your motion will help to lift the dirt out of the wood pores without making the surface rough.
A pressure washer can be a lifesaver here, but you have to be careful. Too much pressure will permanently gouge the wood, leaving ugly “wand marks” that will show right through your beautiful new stain.
Keep the pressure between 500 and 1500 PSI.
Use a 25-degree or 40-degree fan tip, never the zero-degree “pencil” nozzle.
Hold the wand about 8-12 inches from the deck surface.
Sweep in long, even strokes, following the direction of the wood grain.
After cleaning, use a garden hose to thoroughly rinse your whole deck. Now the difficult part: let it dry entirely. It might take 24-48 hours or even longer if the weather is not favorable. Don’t skip this step; if you stain wet wood, the stain won’t last.
Why Sanding Is Non-Negotiable
Sanding can sometimes feel like a chore, but it is the thing that differentiates a good deck from a professional one. When a deck is cleaned and washed, the grain of the wood is often raised, thus a fuzzy texture will be felt. Sanding does that and, even more, it opens the wood’s pores to take the stain in the most amount possible.
An orbital sander outfitted with 60- to 80-grit sandpaper is pretty much the ideal tool for this kind of task. The grit is not too fine and not too harsh, it can easily smooth out the surface, remove the top layer which looks weathered while at the same time not polishing the wood. Choosing a finer grit, you can actually end up sealing the pores of the wood, which will make it impossible for the stain to penetrate the wood properly.
Make sure all the dust is removed after the sanding. A leaf blower is great to use for the first pass, but then a good sweep with a soft-bristled broom should be done to follow up. Your deck is now clean, dry, and smooth, the perfect surface for your next step.
Proper prep is also just smart economics. Staining is a key part of the $18.4 billion global decking market’s repair segment, as homeowners look to restore their decks rather than pay $10,000 or more for a full replacement. In tough climates, such as we have in Colorado, an untreated deck can lose 20-30% of its integrity each year. Proper staining, however, can boost its lifespan by 200%, effectively turning a 10-year deck into one that lasts 25 years or longer. You can see more details in the deck and patio construction industry report.
Choosing The Right Stain And Tools
Walking into the stain aisle can sometimes feel like a pop quiz that you weren’t prepared for. It can be quite confusing when there are lots of choices, and you wonder how to make the right decision. I can tell you from personal experience, not only what kind of stain and right gear to choose, is as important as all the prep work. The choice you make will directly affect your deck’s appearance, its resistance to weather, and the time when you will be re-staining it again.
Oil-Based vs. Water-Based: The Big Decision
Choosing an oil-based or water-based stain is your first big decision. For a long time, oil-based products have been considered the best. They penetrate the wood fibers deeply, thus providing great protection from the inside and giving that warm, traditional look that quite a lot of us are fond of.
On the other hand, water-based stains have come a long way. Contemporary formulations provide great durability, enhanced resistance to mold and mildew, and cleaning is simply a matter of soap and water. They usually have lower VOC (volatile organic compound) levels too, which is quite a good thing for the environment. Frankly, it usually boils down to your local climate and your habits. If you are unsure, have a look at our detailed comparison of oil-based vs. water-based stains for the complete information.
A side-by-side comparison of these two can help you understand the main differences and choose what kind of deck stain will be most suitable for your project.
A side-by-side comparison of these two can help you understand the main differences and choose what kind of deck stain will be most suitable for your project.
Oil-Based vs Water-Based Deck Stain
Feature | Oil-Based Stain | Water-Based Stain |
Cleanup | Needs paint thinner or mineral spirits. | Cleanup is simple and only requires soap and water. |
Penetration | Provides strong, internal protection by penetrating deeply into wood fibers. | Provides outstanding scuff resistance and creates a long-lasting layer on the surface. |
Dry Time | Slower drying time, usually between 24 and 48 hours. | Quicker drying time; recoatable in 2-4 hours on average. |
Color Retention | May fade more quickly when exposed to high UV light. | Provides superior, longer-lasting color retention in general. |
Ideal For | Adding to the organic beauty of hardwoods; gives them a timeless, luscious appearance. | High-traffic regions have more resilience to mildew and mold. |
Both can eventually render excellent results, but their uses and long-term characteristics diverge greatly. Choose the one that most closely aligns with your goals and comfort level.
Finding the Right Transparency
After choosing your base, the next thing you should focus on is the transparency. That is simply the extent to which you want to reveal the wood grain. Your deck’s age and state have the most influence on this decision.
- Transparent Stains: These give you the most natural look, letting the wood’s character shine. But because they have very little pigment, they offer minimal UV protection, and you’ll likely need to reapply them every 1-2 years. They’re best for brand-new or pristine decks.
- Semi-Transparent Stains: This is the sweet spot for most people. It adds a nice hint of color but still lets plenty of the wood grain show through. That extra pigment provides better UV protection, extending its lifespan to 2-3 years.
- Semi-Solid Stains: Got an older deck with some discoloration or flaws? A semi-solid stain is a great choice. It hides most of the grain while letting the wood’s texture come through, giving the surface a more uniform appearance.
- Solid Color Stains: Think of this as a “deck paint.” It completely covers the grain but not the texture, providing maximum protection from the sun. It’s the most durable option, often lasting 3-5 years, and it’s the perfect solution for old, weathered decks that need a total facelift.
Here’s a pro tip from what we’re seeing on the ground: The trend for 2025 is all about earthy tones like cedar and golden browns, which now make up over 45% of the market. These colors are a natural fit for Colorado’s scenery and do a 25% better job of hiding dirt. Opting for a solid or semi-solid stain can extend protection to 5 years, with moisture resistance 40% higher than with clear finishes. And while oil-based stains might cost more upfront, they can offer double the UV protection, a huge deal in our sunny climate.
Assembling Your Staining Toolkit
Getting a professional finish without frustration during the weekend is what differentiates working with the right tools and the painting companies nearby. Of course, you might manage with just one brush, but a well-equipped kit will not only save you time and effort but will also produce a result that you will be proud of.
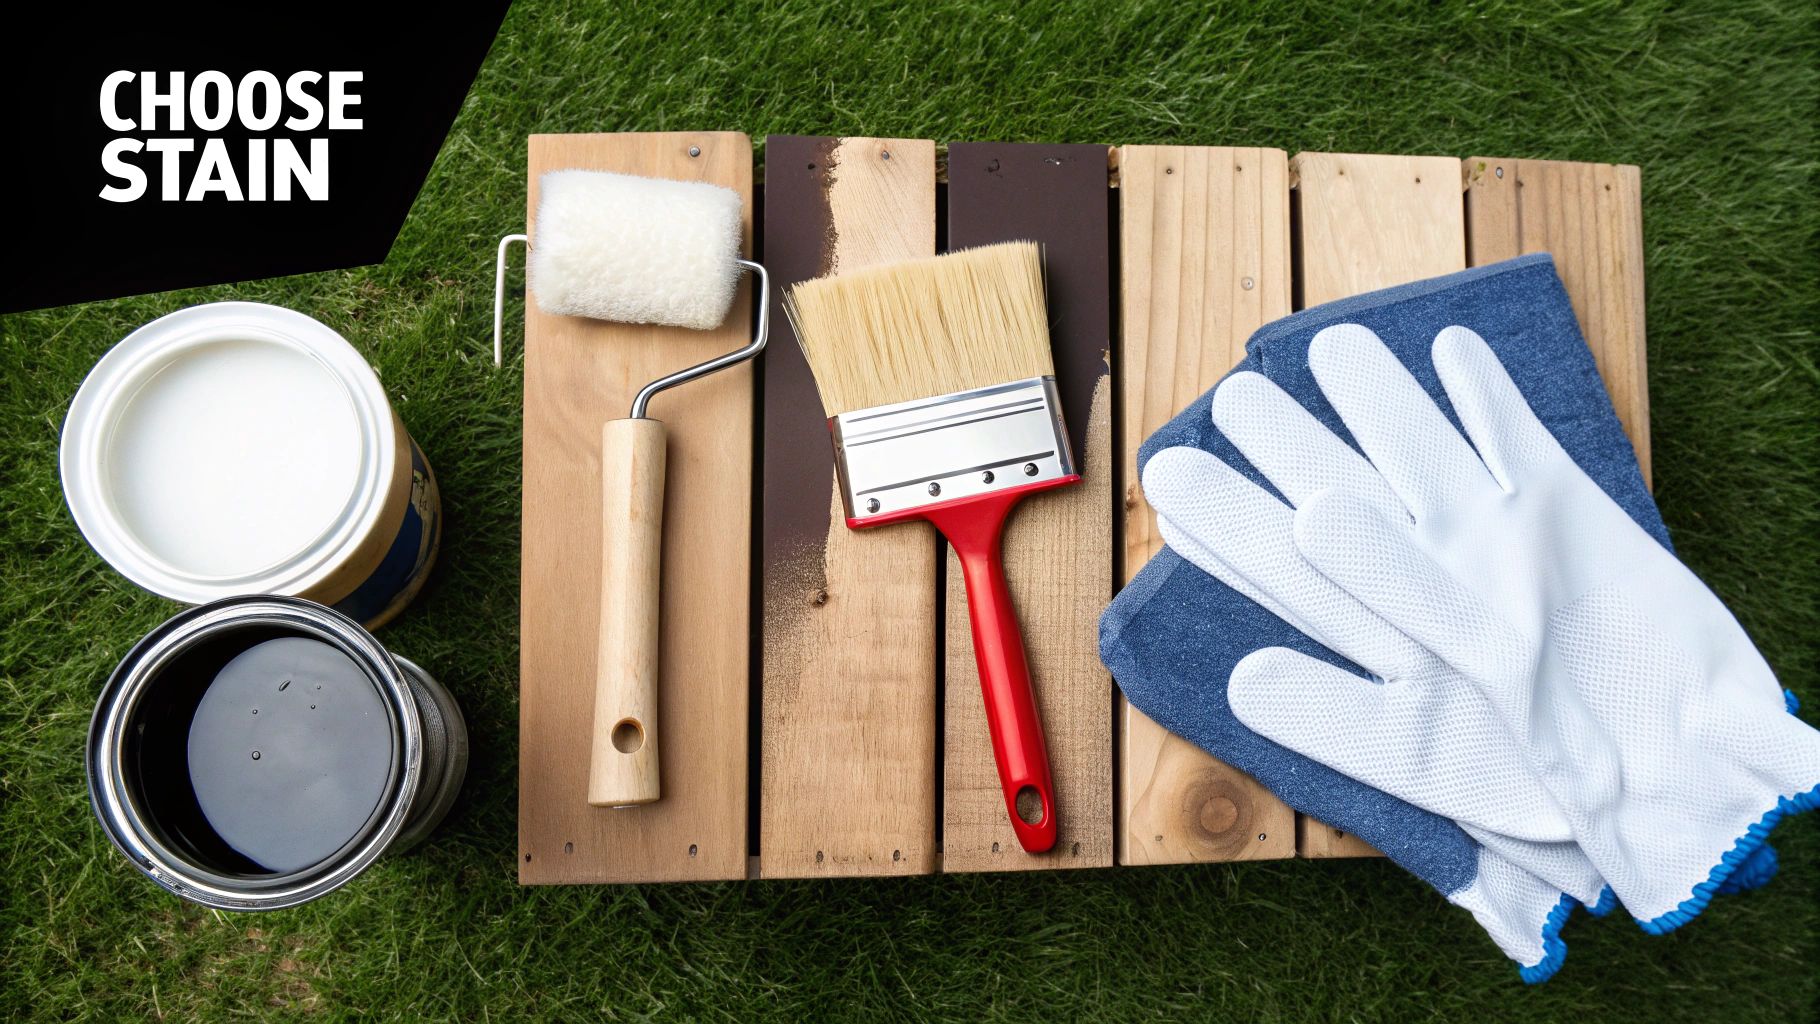
For the main floorboards, a stain pad or a quality roller with a ⅜-inch nap is your best bet for applying a thin, even coat without wasting a ton of time. A sprayer is also a great option for big decks, but don’t even think about skipping the next step.
You must back-brush. This is the real secret to a flawless finish. As soon as you spray or roll on a section, you immediately go over it with a brush. This works the stain into the wood’s pores and smooths out any drips, puddles, or roller marks. A high-quality 4-inch natural-bristle brush (for oil-based stains) or a synthetic one (for water-based stains) is your most valuable tool. It’s also what you’ll use for cutting in around the house and getting into all those tight spots where a roller just won’t go.
Finally, grab a paint tray, a few old rags for wiping up mistakes, and some drop cloths to protect your siding, plants, and concrete.
Mastering Your Stain Application Technique
Okay, all that prep work is done. Now for the fun part, bringing your deck back to life. This is where the magic happens, but your technique is everything. Getting that flawless, professional-looking finish isn’t about just slapping on some stain; it’s a methodical approach that guarantees an even, beautiful, and long-lasting result.
But first of all, before you even consider opening that can of stain, get your phone out and check the forecast. I simply can’t say it enough. If you put stain on the surface in the wrong weather, you will completely lose your work in a flash. You want a ‘Goldilocks’ day—precisely the right temperature, not too hot, not too cold.
- Ideal Temperature Range: Aim for a day when temps stay between 50°F and 90°F for the entire time you’re working and during the initial drying period.
- Avoid Direct Sunlight: Staining under the blazing sun is a huge mistake. The stain will dry way too fast, before it can really soak into the wood. This is what causes ugly lap marks and a patchy finish.
- Check for Rain: You absolutely need a clear window of at least 24-48 hours with no rain. A surprise shower on a fresh stain is a disaster, leaving you with a splotchy mess.

Your Plan Of Attack For Even Coverage
Having a game plan before you start is crucial. The last thing you want to do is literally paint yourself into a corner. A smart strategy ensures every nook and cranny is properly covered without smudging the parts you’ve already finished.
My advice? Always start with the vertical surfaces. Get the railings, balusters, spindles, and posts done first. By working from the top down, any drips will land on the unstained deck boards below, and you can just brush them in as you go. If you stained the floor first, you’d be fighting a constant battle with drips messing up your fresh coat.
Once the verticals are done, it’s time for the main event: the deck boards. Start at the corner farthest from your exit (usually the stairs) and work your way back.
The Secret To A Blotch-Free Finish
If there’s one pro tip to remember, it’s this: always maintain a “wet edge.” It’s the key to a perfectly uniform finish.
Basically, a wet edge just refers to the situation where the edge of the part you are staining remains wet until you start the next part right next to it. If you mix the wet stain with the wet stain, you totally get rid of those awful lap marks that appear if one area dries before you can do the next one.
Here’s how to do it right:
- Stain in Sections: Don’t get overambitious. Just tackle two or three boards at a time, but run them the entire length of the deck.
- Move Methodically: Finish the full length of those few boards, then immediately start on the next set, blending your application into the still-wet edge of the boards you just finished.
Many of the core principles for a great finish are the same across different wood treatments. It’s all about solid prep and even coats. You can see similar advice in guides that explain how to apply teak oil for a professional finish.
Why Back-Brushing Is Non-Negotiable
This method is what really distinguishes the professionals from the non-professionals. It doesn’t matter if you are applying the stain with a pad, roller, or sprayer to get it on fast, you simply cannot miss the step of a brush afterward. In fact, this is known as back-brushing.
After you apply stain to a small area, immediately go over it with a high-quality brush. This simple move accomplishes two critical things:
It physically pushes the stain deep into the wood grain for better penetration and protection.
It smooths out any puddles, roller texture, or drips, leaving a perfectly consistent coat.
Think of it as working the stain into the wood, not just laying it on top. For oil-based stains, grab a natural-bristle brush; for water-based, go with a synthetic. This final touch makes all the difference.
Of course, once the stain is on, you have to let it cure. To get the full rundown on that, see our guide on how long deck stain takes to dry.
Protecting Your Work With Smart Maintenance
You put in the work, and your deck looks fantastic. Now, the mission changes from application to preservation. Think of deck maintenance less as a chore and more as an insurance policy on your hard work. A little bit of smart, consistent care is what keeps that finish looking great and protecting the wood, season after season.
Even the most excellent stain work is destined to wear off due to foot traffic, UV rays, and the crazy weather in Colorado unless you have a simple plan for maintenance. The key is to be one step ahead of the situation. You should spot the tiny issues before they grow into large and costly problems that will compel you to tear everything down and begin anew.
Your Annual Maintenance Checklist
Throw in a deck inspection into your schedule at least once a year, and spring is usually the best time. This quick check-up could be the one thing that seriously extends the life of your stain and wood.
Start with a gentle cleaning. This is not the time for the high-pressure assault you used for prep. A light wash with a mild deck cleaner or even just some soap and water is all you need. Use a garden hose or a pressure washer on its absolute lowest setting (stay under 1000 PSI) to rinse away the dirt, pollen, and general grime without blasting off the stain.
Key Takeaway: A harsh cleaning can literally strip away the protective layer of your stain, undoing all your hard work. The goal is just to clean the surface, not the wood underneath. Gentle is always the way to go for maintenance.
Also, look for any new problems while you are there. Look for loose screws or small splinters that could have come up during the winter. Doing these little fixes right away will keep water from getting underneath the stain and causing problems.
Knowing When It’s Time To Re-Stain
So, how can you tell if your deck requires something more than just a simple wash? The wood will reveal to you what it really needs. One of the most straightforward methods to find out is to conduct the old-fashioned sprinkle test.
Just splash a little water onto the deck boards in a few different places. Make sure to test high-traffic spots and the areas that get baked by the sun all day.
- If the water beads up: Perfect. Your stain is still repelling moisture like it should. You’re good for another season.
- If the water soaks in quickly: This is your sign. The protective barrier has worn down, and the wood is now absorbing moisture. It’s time for a maintenance coat.
The kind of stain that you had applied is, in fact, the most significant factor. When looking at decks, the frequency of re-staining basically follows the same pattern as for other outdoor wood projects. If you really want to compare, our article on how long fence stain lasts offers some very valuable points. But in a nutshell, this is what you can anticipate:
- Transparent Stains: Every 1-2 years
- Semi-Transparent Stains: Every 2-3 years
- Solid Color Stains: Every 3-5 years
Keep in mind, these are only rough estimates. For instance, a deck that is exposed to the sun most of the day in a snow-covered area will require maintenance much earlier than a covered deck that faces north. If you are unsure, always rely on the water test rather than the date on the calendar.
Troubleshooting Common Deck Issues
Even with the best care, little problems can pop up. Here’s how you can handle them without having to redo the entire deck.
For those annoying, isolated mildew spots, you can usually knock them out with a targeted spray. A simple mix of 25% bleach and 75% water often works wonders. Let it sit for about 10 minutes, give it a gentle scrub with a soft brush, and then rinse it off completely.
Many times, a minor touch-up alone will suffice. For example, when there are a few light stains or scratches originating from the furniture being dragged around. Sand the area in the spot approximately with 120-grit sandpaper, just barely enough to make the area a little rough. Then take an artist brush and if you have some leftover stain gently put a tiny bit of it on the pad, feathering the edges so it matches perfectly.
Common Deck Staining Questions Answered
Sometimes things don’t go as planned, and staining a deck is no exception. Naturally, there will be lots of questions. I’ve pretty much heard every one of them. Here are some I hear most often from homeowners that can help you avoid making some very frustrating mistakes.
How Long Should I Wait To Stain A New Deck?
This is a big one, and the right answer boils down to one word: patience. That brand-new pressure-treated wood is full of moisture and chemicals from the treatment process. If you jump the gun and stain it too early, you’re just trapping all that moisture inside. The result? Your beautiful new stain will fail and start peeling off, sometimes in just a few months.
Your climate plays a huge role here. In a drier state like Colorado, you’re usually looking at a wait time of at least 3-4 weeks. But honestly, the calendar isn’t your best guide, the wood is. The most foolproof method is the classic “sprinkle test.”
It’s as simple as it sounds. Just splash a little water on the deck boards.
- If the water beads up like on a freshly waxed car, the wood’s pores are still sealed. It’s not ready.
- If the water soaks in right away, you’re good to go. The wood is thirsty and ready to absorb the stain.
Even for naturally tough woods like cedar or redwood, which sometimes dry out faster, you should always trust the water test. It never lies.
Can I Stain Over An Old Coat Of Paint Or Stain?
Tread very, very carefully here. You should never just slap a new coat of stain over old paint that’s peeling or a solid-color stain that’s flaking off. The new finish needs a solid surface to grab onto, and without it, it’s guaranteed to fail almost immediately. In those cases, you have to strip everything off down to the bare wood. No shortcuts.
There is one exception, however. If you are only reapplying the same product, e.g. new maintenance coat of the same semi-transparent oil stain you had previously, and the old finish is only faded and not flaking, you are often allowed to do it. A thorough cleaning and a fresh coat usually work well. The key is that the wood must be able to drink in the new stain. If there’s an old film blocking the way, it has to go.
The single most significant error is to do inadequate preparation. People get so caught up with the idea of the new color that they hurriedly do the cleaning or even strip and sand less or not at all. Putting a new stain on a deck that is covered with dirt, mildew, or flaky old finish is like asking for trouble.
Doing this pretty much guarantees the new stain can’t penetrate the wood, leading to terrible adhesion, a blotchy look, and peeling before the next season even rolls around.
What Is The Biggest Mistake DIYers Make?
Besides rushing the prep work, the next biggest blunder I see is completely ignoring the weather forecast. Staining your deck in the wrong conditions can sabotage your hard work just as quickly as poor prep.
Watch out for these two classic weather-related mistakes:
- Staining in Direct Sunlight: Don’t do it. The intense sun bakes the deck boards, causing the stain to flash-dry on the surface before it can soak into the wood fibers. This is how you get ugly lap marks, streaks, and a weak finish that won’t last.
- Staining Right Before Rain: Even a light drizzle on fresh stain is a disaster. It will wash away pigment, leaving you with a splotchy, uneven mess that’s an absolute nightmare to fix. You need a clear, dry window of at least 24-48 hours after you put the last coat on.
Getting a great, long-lasting finish on your deck is about more than just good brushwork. It’s about timing and patience. Wait for the wood to tell you it’s ready and pick the right weather window, and you’ll end up with a beautiful deck that’s protected for years.
At I PAINT STUFF, a professional painting company nearby,we know all about the unique challenges of protecting outdoor spaces here in Colorado. If you’d rather leave the prep work, staining, and cleanup to the pros, we’re here to help. Contact us today for a fast, free, and honest estimate.