

Painting your wood siding is about so much more than just a cosmetic facelift. Think of it as a critical act of preservation, especially when you’re up against Colorado’s wild and unpredictable weather. A top-notch paint job is your home’s first line of defense, a protective shield that can add years to the life of your siding by locking out moisture and blocking harsh sun damage.
Why Your Siding Needs More Than Just a Pretty Color
Living anywhere along the Front Range, from the sunny exposures in Arvada to the seasonal shifts in Thornton, you know our weather is no joke. The paint on your wood siding has a tough job—it’s essentially armor for your home. We’ve got intense high-altitude sun, dramatic temperature swings, and plenty of moisture from snow and hail, all constantly battering your home’s exterior.
Without that crucial protective barrier, wood becomes incredibly vulnerable. Moisture finds its way into tiny unsealed gaps and unprotected grain, kicking off a chain reaction of problems that we see all the time in communities like Wheat Ridge and Northglenn.
- Wood Rot: Once moisture gets in, it’s a perfect breeding ground for fungus. Before you know it, the wood gets soft, spongy, and loses its structural integrity.
- Warping and Cracking: The endless cycle of wood absorbing moisture and then drying out causes it to swell, shrink, warp, and eventually crack. This breaks the protective seal of your home’s exterior envelope.
- Insect Damage: That compromised, damp wood is basically a welcome mat for pests like termites and carpenter ants, which can lead to some seriously expensive headaches down the road.
Boost Your Home’s Value and Protection
A well-maintained exterior doesn’t just protect your investment; it makes it grow. If you’re a homeowner in a competitive market like Broomfield or Berkley, a crisp, clean paint job is one of the smartest things you can do to boost your property value. It immediately signals to potential buyers that you’ve taken meticulous care of the place.
Honestly, seeing the difference a fresh coat makes is one of the most cost-effective ways to learn how exterior painting can transform your home’s curb appeal.
A common mistake I see homeowners make is viewing exterior paint solely as a color choice. In reality, it’s a functional coating engineered to protect your siding from UV degradation and moisture, directly impacting your home’s long-term structural integrity.
And the benefits go beyond just looks. A proper paint job seals those small cracks and gaps where air can leak, which can even help improve your home’s energy efficiency. It’s also a foundational step for other home projects. The integrity of your exterior shell in places like Federal Heights or Commerce City directly impacts how well interior work—like kitchen cabinet refinishing or a fresh coat of paint inside—will last, because it stops moisture from ever getting into the walls in the first place.
What to Look for Before You Pick Up a Brush
Painting over damaged siding is like putting a nice new sticker on a rusty car—it might look good for a minute, but the problems underneath will show through in no time. Before you even start looking at paint chips, you need to play detective with your home’s exterior. A thorough inspection is the single most important step for a durable, long-lasting finish, especially in communities from Federal Heights to Wheat Ridge where our weather really puts siding to the test.
Putting fresh paint on failing wood is just a waste of time and money. The new paint simply won’t stick correctly and you’ll be dealing with peeling, cracking, or blistering much sooner than you should. This initial walk-around ensures you’re starting with a solid, healthy surface.
Identifying Common Siding Issues
Do a slow walk around your house. Get right up to the siding and look for the subtle signs of trouble that could ruin your paint job down the road. It’s also a good idea to know exactly what kind of siding you’re working with, as shown in this overview of different types of siding.
Here’s a practical checklist of what I always look for on homes in places like Berkley or Commerce City:
- Soft Spots and Rot: Take a screwdriver and gently poke any areas that look discolored or questionable. If the wood feels spongy, you’ve got rot. Pay extra close attention to boards near gutters, downspouts, and the very bottom courses of siding near the ground—these are prime spots for moisture to sit.
- Cracked or Split Boards: Keep an eye out for long, vertical cracks in the planks. These are basically open doors for moisture to sneak in behind the paint, which leads to rot and peeling. You can often fix small hairline cracks, but bigger splits usually mean the board is a goner.
- Peeling, Flaking, or Blistering Paint: This is the most obvious red flag. It’s a clear sign the old paint has failed because of moisture or bad prep work last time around. You absolutely cannot just paint over this; it all has to come off.
- Mold and Mildew: Check the shady, damp parts of your house, especially the north-facing side. You’re looking for black, green, or grayish splotches. This stuff has to be completely killed and cleaned off before you even think about priming.
Making Smart Repairs
Once you’ve got your list of problem areas, it’s time to fix them. The good news is that not every issue requires ripping out a whole plank of siding. For homeowners in Arvada or Thornton, knowing how to handle these smaller fixes can save a lot of money and get your siding ready for a perfect finish.
For minor cracks and small holes, a high-quality, paintable wood filler or epoxy is your best friend. Really work it into the damaged spot, overfilling it just a bit. After it cures, sand it down so it’s perfectly smooth with the wood around it. It creates a really strong, seamless patch.
That said, you also have to know when to call it quits on a board.
If you find widespread rot where the wood is just crumbling, or if a board is severely warped and split, don’t try to patch it up. Replacing the entire plank is the only real solution. It ensures the problem won’t spread and undermine your brand-new paint job.
Distinguishing Minor Fixes from Major Problems
Knowing the difference between a simple DIY fix and a sign of a bigger problem is crucial. A few cracked boards? That’s manageable. But if you find that several boards right under a window in your Welby home are soft, the problem is likely deeper than the siding. It could be a bad window seal or faulty flashing letting water get into the wall itself.
Likewise, if you’re scraping off peeling paint and the wood underneath is consistently damp across a large section, that’s a major warning sign. It points to a systemic moisture issue that paint can’t fix. In these situations, it’s smart to pause the paint job and investigate. Fixing these root causes is absolutely essential for a paint job that will actually last in Colorado’s demanding climate.
The Prep Work That Guarantees a Perfect Finish
Ask any seasoned painter from Sherrelwood to Applewood, and they’ll tell you the same thing: a great paint job is 80% preparation. This is the unglamorous but absolutely essential phase that determines whether your work will last a decade or start failing within a year. Simply painting over dirt, loose paint, or unsealed gaps is a recipe for disaster.
This foundational work gives the new paint a clean, solid surface to grab onto, creating a durable shield against Colorado’s punishing weather. Taking shortcuts here is the most common—and costly—mistake we see.
This quick visual guide shows the essential flow of inspection and repair that has to happen long before you even think about opening a can of paint.
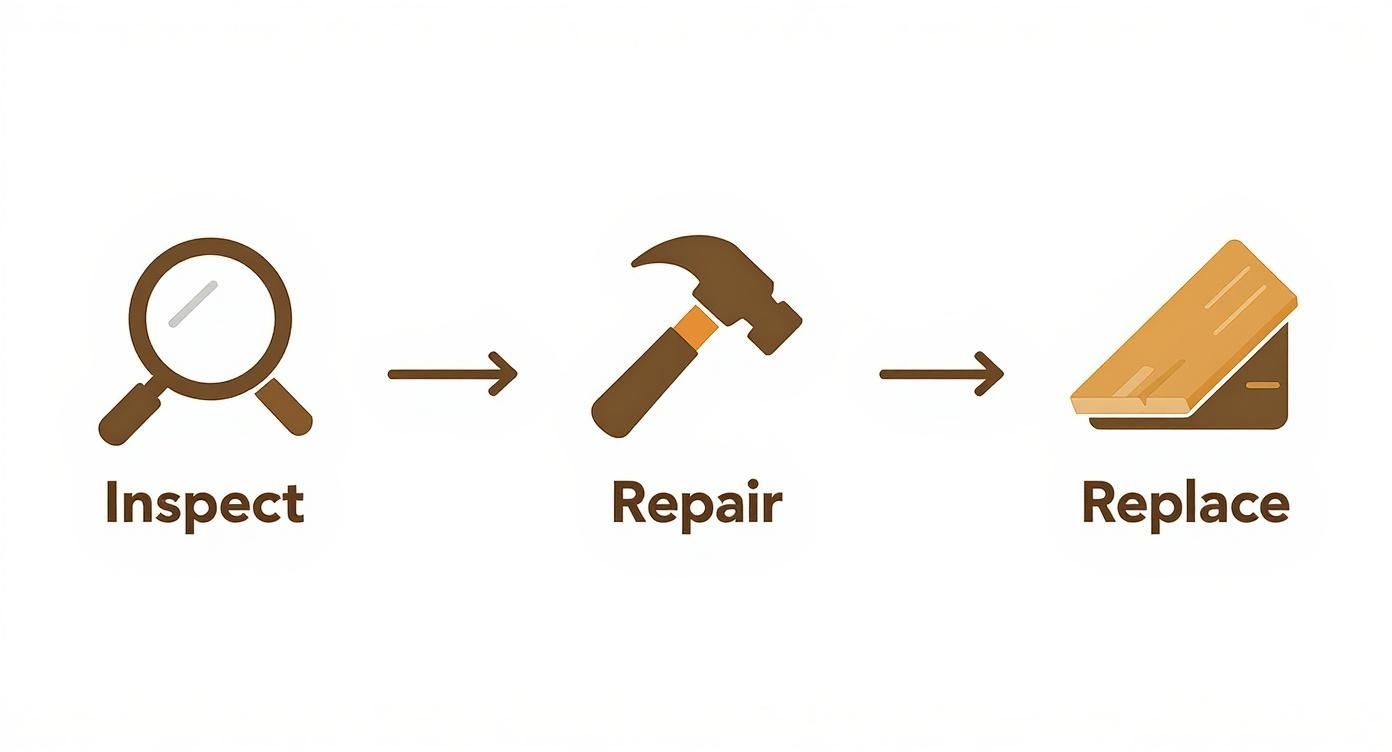
The key takeaway? You have to inspect, repair, and replace any damaged sections before moving on to the actual surface prep like cleaning and sanding.
Siding Preparation Checklist
To make sure you don’t miss a single step, here’s a handy checklist that walks you through the entire prep process. Following this order ensures your siding is in perfect condition for its new coat.
| Preparation Step | Objective | Key Tools/Materials | Pro Tip For Colorado Climate |
|---|---|---|---|
| Inspect & Repair | Identify and fix rot, cracks, or insect damage. | Putty knife, wood filler/epoxy, replacement siding. | Our dry air can make wood brittle. Check south-facing walls carefully for splintering and sun damage. |
| Clean Surface | Remove all dirt, mildew, pollen, and chalky residue. | Stiff-bristle brush, mild detergent, garden hose. | Avoid high-pressure washing, which can force water behind siding and cause freeze-thaw damage in winter. |
| Scrape Loose Paint | Get rid of all flaking, bubbling, or peeling paint. | High-quality paint scraper, wire brush. | Work methodically from top to bottom. A sharp scraper is more effective and safer than a dull one. |
| Sand Edges | Create a smooth transition between old paint and bare wood. | Medium-grit sandpaper (80-120), random orbital sander. | “Feathering” the edges is non-negotiable for a professional look and prevents the new paint from outlining old chips. |
| Caulk Gaps | Seal all cracks around windows, doors, and trim. | Paintable exterior caulk, caulk gun. | Apply caulk when temperatures are moderate to ensure it cures properly without cracking or shrinking. |
Completing every item on this checklist is your best defense against premature paint failure and guarantees a finish that not only looks great but also protects your home.
Cleaning Away Years of Grime
Your siding accumulates more than just dust. Think of the pollen in Broomfield, the street grime in Commerce City, and the general buildup that comes with our dry climate. Paint simply will not stick to a dirty surface.
Thoroughly cleaning your siding is a crucial first step. You can learn more about effective siding cleaning methods to get it right. While a pressure washer seems like a fast solution, it demands a careful hand. Too much pressure can easily gouge the wood or force water behind the siding, creating the very moisture problems you’re trying to prevent.
For most homes, especially older ones in neighborhoods like Wheat Ridge or Edgewater, your best bet is scrubbing with a stiff-bristle brush and a mild detergent. It gives you total control and ensures you remove all the chalky residue and mildew without damaging the wood itself.
Scraping and Sanding for a Perfect Bond
Once the siding is clean and dry, the next non-negotiable step is removing every last bit of loose, flaking, or peeling paint. A good, sharp paint scraper is your best friend here. You need to be methodical and create a solid foundation for the new coat.
After scraping, you’ll see ridges between the old paint and the bare wood. If you paint right over these, every single ridge will show through, leaving an uneven, unprofessional finish.
Sanding these edges is the secret to a seamless look. It feathers the transition from the old paint to the bare wood, creating a smooth, uniform surface that the primer can grip onto perfectly. This step alone can elevate a DIY job to look like a pro did it.
This same principle applies to any fine-finish painting, even indoors. For example, if you’re painting kitchen cabinets in your Welby home, a flawlessly sanded surface is the only way to achieve that smooth, durable finish. You can’t skip the prep, whether inside or out.
Sealing Gaps to Block Out Moisture
For homeowners in Northglenn or Thornton, caulking is one of the most critical steps in protecting your house. Carefully inspect the gaps where siding meets trim, around windows and doors, and at corner boards. These tiny cracks are major entry points for moisture and drafts.
Fill every gap using a high-quality, paintable exterior caulk. This simple action does two things at once: it creates a clean, finished look and, more importantly, it seals your home’s envelope against water intrusion from our intense rain and melting snow. A sealed home is a protected home.
The importance of this step is reflected in the broader siding market. The global siding industry, which includes wood, was valued at USD 125.8 billion in 2024 and is expected to keep growing. Here in North America, where siding is so common, the demand for proper maintenance and painting is huge because people understand that preserving this exterior shield is crucial. All this meticulous prep work directly contributes to the longevity and value of that massive investment.
Choosing Paint That Can Handle Colorado Weather
https://www.youtube.com/embed/vD-V-piNSjI
Walking into the paint aisle can be completely overwhelming, I get it. But for a paint job to survive our wild Colorado climate, getting this choice right is absolutely non-negotiable. The paint you put on your home in Edgewater or Arvada isn’t just about color—it’s a protective shield, engineered to handle brutal UV rays, huge temperature swings, and moisture.
For wood siding here in Colorado, the gold standard is a 100% acrylic latex exterior paint. Its single biggest advantage? Flexibility.
Think about how our temperatures can plummet overnight and then bake in the sun the next day, a daily routine in places like Commerce City and Thornton. Wood siding is constantly expanding and contracting with these changes. Acrylic latex paint is designed to stretch and shrink right along with it, which is your best defense against cracking and peeling down the road.
This is a massive improvement over old-school oil-based paints, which get rigid and brittle over time and simply can’t keep up. Whether you’re refreshing your main siding or looking for the best paint for treated wood on a new deck, starting with a high-quality acrylic latex is foundational.
Getting the Sheen and Additives Right
Once you’ve settled on acrylic latex, you need to pick the right sheen. Each finish offers a different mix of looks and durability, and you’ll want to use them strategically.
- Satin/Eggshell: This is my go-to for the main body of the siding. It has just enough luster to make it easier to clean than a flat paint, but it’s fantastic at hiding the minor dings and imperfections you find on most wood surfaces, a common sight on homes in Federal Heights and Berkley.
- Semi-Gloss: I always reserve this shinier, tougher finish for the trim, windows, and doors. Its slick surface is great at repelling moisture and holds up beautifully to the scuffs and frequent cleaning that these high-touch areas get.
Beyond sheen, look at the can for specific additives. Given our intense, high-altitude sun, a formula with UV-blocking additives is a must-have to keep your color from fading prematurely. I also recommend paints with mildew-resistant additives, especially for the shaded, north-facing sides of homes in neighborhoods like Welby or Sherrelwood that stay damp longer.
Why You Can’t Afford to Skip a Quality Primer
Primer is the unsung hero of every great paint job. It’s what seals the raw wood, gives the topcoat something to grab onto, and creates a uniform base so your final color looks even and rich.
And for certain woods, the right primer isn’t just a good idea—it’s mandatory.
If you have cedar or redwood siding, you’re dealing with natural oils called tannins. If you use the wrong primer (or worse, no primer), these tannins will eventually work their way through the paint, leaving ugly brownish-yellow stains. To stop this, you have to start with a high-quality, stain-blocking primer. It’s an essential first step for any homeowner in Applewood or Wheat Ridge who wants to keep their beautiful cedar siding from looking blotchy.
I see it all the time: DIYers trying to cut corners by skipping primer or buying the cheapest can they can find. This is a classic mistake. A premium, stain-blocking primer is your insurance policy—it guarantees that the expensive topcoat you just bought can actually do its job.
This isn’t just an exterior painting rule; the same logic applies to detailed interior projects. For example, painting kitchen cabinets requires specialized primers for blocking stains and ensuring the topcoat adheres to slick surfaces, which is critical for a durable, professional finish.
Properly protecting wood siding is more important than ever. The wooden siding market was valued at $8 billion in 2025 and is projected to climb to $12 billion by 2033, a trend driven by a demand for natural materials. Discover more insights about wooden siding market trends and you’ll see why investing in the right materials to protect this valuable asset is so critical.
Pro Application Tips for a Flawless Look
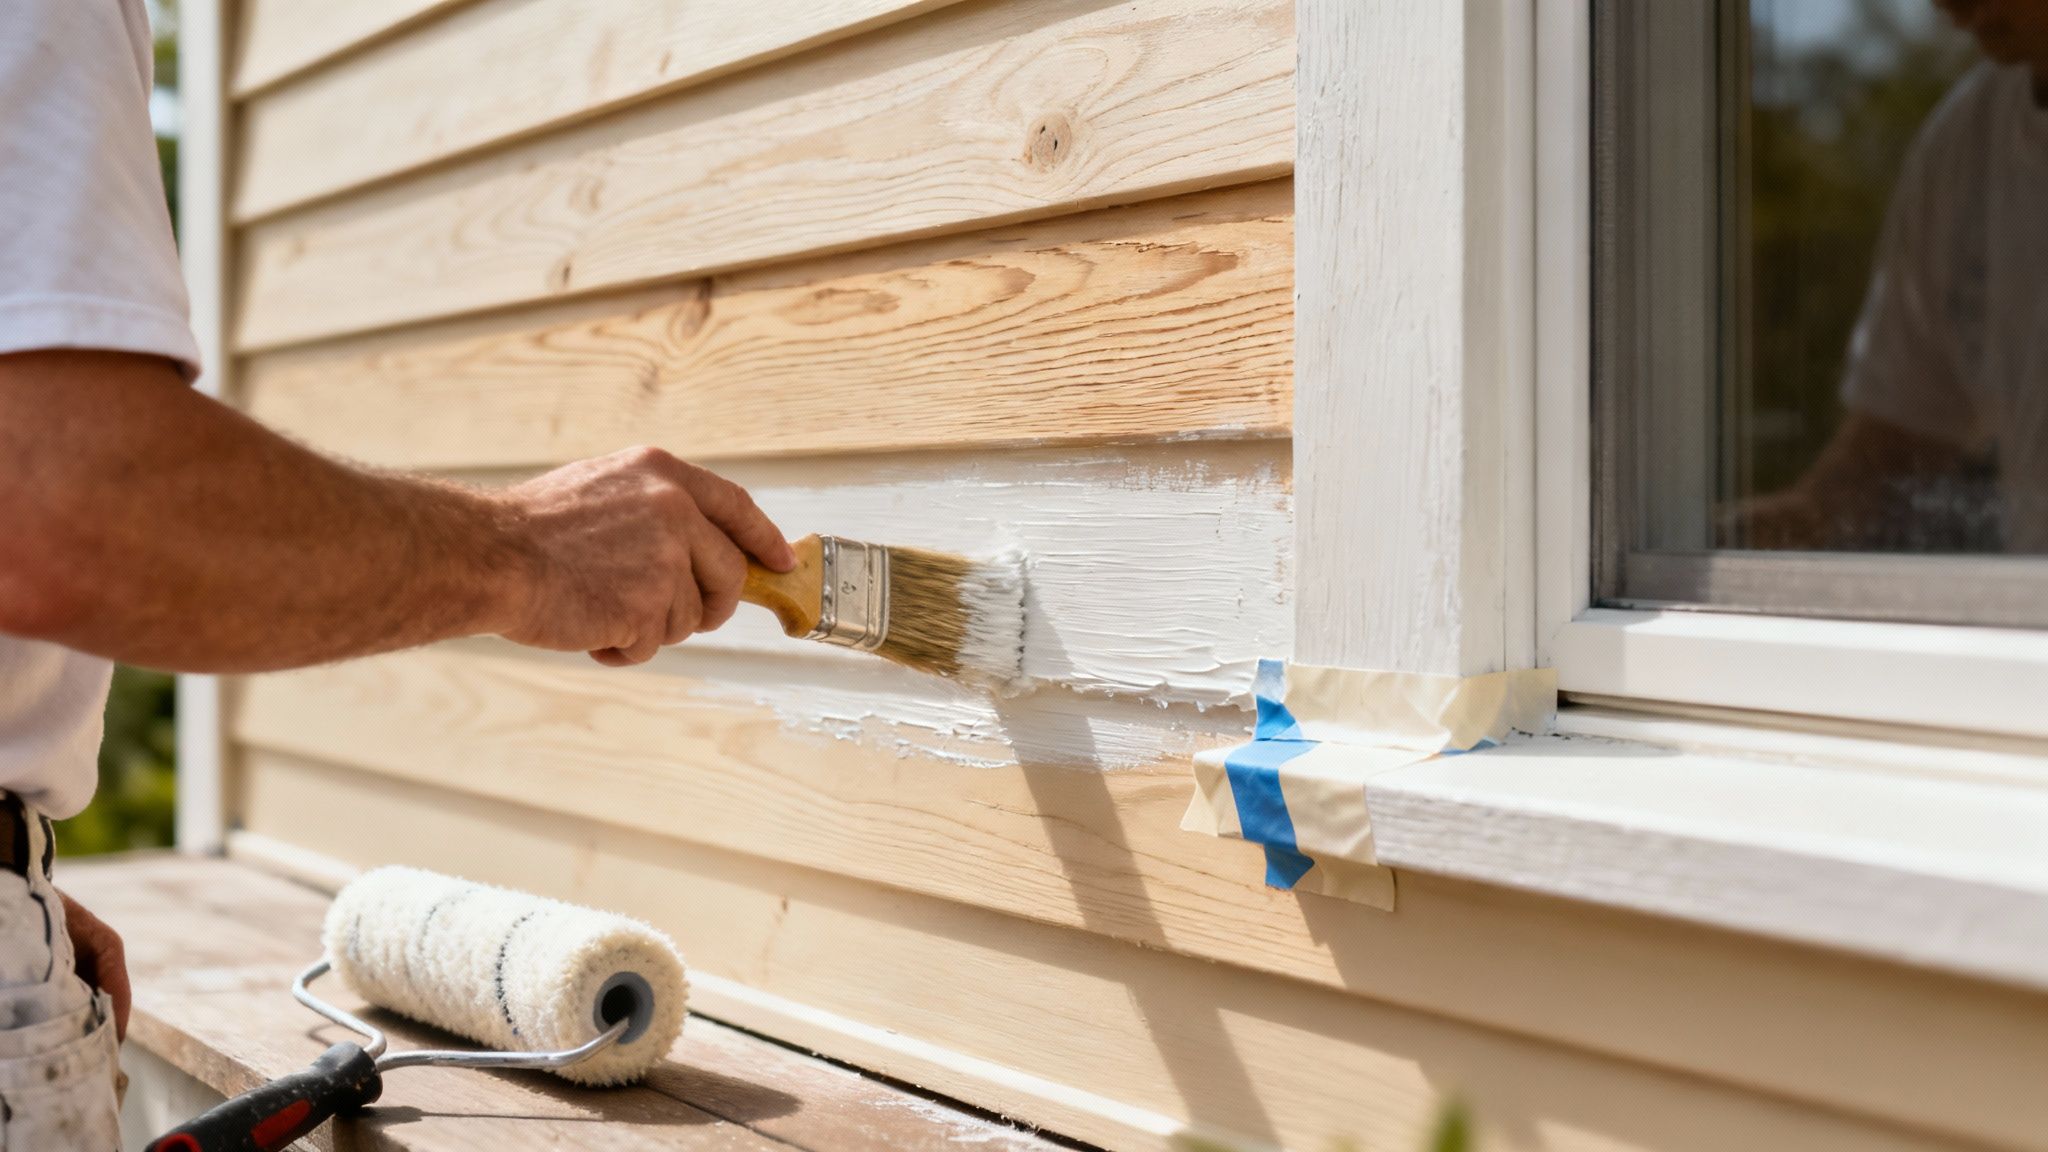
After all that meticulous prep work, this is the moment you’ve been waiting for. Applying the paint is the most satisfying part of the job, where you see the real transformation happen and lock in that critical layer of protection for your home.
The application method you choose has a huge impact on the final look and durability of the paint job. A homeowner in Applewood with heavily textured cedar shakes will have a very different approach than someone in Berkley with smooth, flat plank siding. It all comes down to the right tool for the job.
Brushing, Rolling, and Spraying Compared
Every application method has its place. Knowing the pros and cons will help you make the right call, whether you’re touching up a detailed Victorian in Edgewater or tackling a modern build in Commerce City.
| Application Method | Best For | Pros | Cons |
|---|---|---|---|
| Brush | Detail work, trim, small areas, and textured siding. | Gives you amazing control and really forces paint into the wood grain for a solid bond. | Incredibly time-consuming for large areas; can leave brush marks if your technique isn’t spot-on. |
| Roller | Large, flat surfaces like smooth plank siding. | Much faster than a brush for big, open sections and applies a consistent, even coat. | Struggles with deep textures and often can’t get paint deep into the grooves and gaps. |
| Airless Sprayer | Large exterior projects where speed is key. | Blazing fast and efficient. Gives you a beautiful, uniform, professional-grade finish. | Requires a ton of prep (masking everything!), has a steep learning curve, and overspray is a real risk. |
No matter which tool you pick, the goal is always consistent, solid coverage. This kind of exterior maintenance is becoming more important than ever. In fact, the global wood siding market is projected to grow from USD 9.45 billion in 2025 to USD 14.37 billion by 2032. As people continue to invest in this beautiful material, the need for skilled painting to protect that investment is only going to increase. You can read the full research about wood siding market growth to see where the trend is headed.
The Secret Pro Technique: Back-Brushing
If you choose to use an airless sprayer for its incredible speed, there’s a non-negotiable professional technique you need to know: back-brushing. It’s simple. Immediately after you spray a section of siding, you go over it with a dry brush to work the paint into the surface.
This one extra step is a complete game-changer for two reasons:
- It Guarantees Adhesion: Spraying alone just lays paint on the surface. Back-brushing physically pushes that paint into every pore, crack, and crevice of the wood, creating a bond that’s 10x stronger.
- It Perfects the Finish: This technique smooths out any drips or uneven spots from the sprayer, giving you a flawless, hand-painted look without spending days with a brush in hand.
Back-brushing combines the speed of spraying with the quality and durability of brushing. It’s a mandatory step for us on every single project, from Arvada to Thornton, because it ensures the paint job becomes one with the siding, rather than just sitting on top of it.
From Exterior Siding to Interior Cabinets
This philosophy of meticulous application doesn’t stop at the front door. The very same principles of proper prep and technique are what separate an okay job from a stunning one on high-detail interior work, like painting kitchen cabinets.
Many homeowners in areas like Twin Lakes or Federal Heights are refinishing their cabinets to get a high-end kitchen update without the high-end cost. The goal is always a flawless, factory-like finish that will stand up to daily use. For kitchen cabinets, this means using a high-adhesion primer, spraying multiple thin coats of durable paint like an acrylic urethane enamel, and allowing for proper cure time. Learning to apply paint correctly is a skill that pays off on projects all over your home.
Your Denver Wood Siding Painting Questions Answered
We hear a lot of the same questions from homeowners getting ready to paint their wood siding, especially here in the Denver metro area. Our weather is no joke, and the high altitude adds another layer of complexity. It’s smart to go in with a solid plan.
Let’s tackle some of the most common questions we get on the job.
When Is the Best Time of Year to Paint in Colorado?
Timing is everything for an exterior paint job that lasts. Here in Colorado, you’re looking for a sweet spot in the weather, which usually falls between late spring and early fall. Think May to September.
What you really need is a consistent stretch of mild, dry days.
- Temperature is Key: Most of the high-quality acrylic latex paints we use need temperatures between 50°F and 90°F to cure properly. If you paint when it’s too cold, the paint won’t bond well. If you paint in the direct, scorching sun, it can flash-dry, leaving you with ugly lap marks and a much weaker finish.
- Morning is Prime Time: A great pro tip is to follow the shade around your house. Start on the west side in the morning before the sun hits it hard, and then move to the east side in the afternoon once it’s in the shade. This simple trick keeps you off surfaces that are hot to the touch.
How Often Should I Repaint My Siding in a Place Like Thornton?
With our intense UV exposure and wild temperature swings, a really good paint job on a well-prepped surface should last you between 5 and 10 years. But honestly, that’s just a ballpark estimate.
The real lifespan depends on a few things. The quality of the prep work and the paint itself are huge factors. But just as important is which way your house faces. The south and west walls of a home in Arvada or Broomfield get absolutely hammered by the sun and will almost always show fading or wear years before the more protected north side does. That’s why inspecting your home is way more reliable than just watching the calendar.
The biggest mistake we see homeowners in Federal Heights and Twin Lakes make is assuming a paint job has a fixed expiration date. A better approach is to walk around your house once a year and look for the early warning signs: chalking, cracking, or peeling. Catching these problems early can mean a simple touch-up instead of a massive siding repair project down the road.
What if My Older Home in Wheat Ridge Has Lead Paint?
This is a big deal and needs to be taken seriously. If your home was built before 1978, you have to assume it has lead-based paint until proven otherwise. You can grab an inexpensive lead test kit from any hardware store to find out for sure.
If that test comes back positive, do not dry scrape, sand, or use a heat gun. I can’t stress this enough. These methods create toxic lead dust that is incredibly dangerous to breathe in, especially for kids and pets.
When you’re dealing with lead paint, the only truly safe option is to call in a certified professional. It’s worth learning about how to hire painters for your property and making sure they are an EPA-certified firm that knows how to handle lead safely. While some special primers can encapsulate it, the health risks are just too high to mess around with.
What Are the Biggest DIY Painting Mistakes to Avoid?
We end up fixing a lot of DIY projects, and it’s almost always the same few mistakes that cause the biggest headaches. If you can avoid these, you’ll save yourself a ton of frustration.
- Skipping Proper Prep: This is the #1 cause of paint failure, hands down. Rushing through the cleaning, scraping, and sanding phases is a recipe for disaster. Paint needs a clean, stable surface to grab onto.
- Painting in Bad Weather: We see it all the time—someone tries to beat the rain or paint on a blazing hot day. Ignoring the forecast and painting when it’s too hot, cold, or damp will sabotage the finish and its lifespan.
- Using Cheap Materials: It’s tempting to save a few bucks, but it’s a classic mistake. For a job that will actually protect your home and look good for years, investing in a premium 100% acrylic latex exterior paint and a quality primer is non-negotiable.
These fundamentals don’t just apply to siding. Whether you’re painting the exterior of a home in Commerce City or refreshing the kitchen cabinets in your Northglenn house, meticulous prep and quality materials are always the key to a beautiful, long-lasting finish.
Ready to protect your home with a flawless, durable finish that can handle Colorado weather? The team at I PAINT STUFF specializes in meticulous prep and professional application for exteriors, interiors, and kitchen cabinets. Request your free, no-obligation estimate today!
Article created using Outrank

